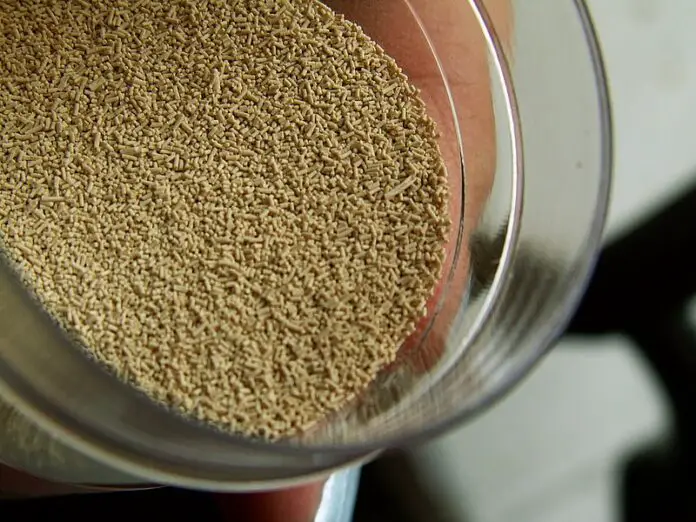
I have a brew day coming up soon where I plan to use Lutra Kveik yeast to make a beginner-friendly pseudo-lager (more on that soon!). I have not brewed with Kveik before, but I’m excited. I plan on doing a lot of brews with this strain in the near future, but it’s kind of expensive! So… I need to figure out how to save and reuse the yeast to cut down costs – something I also haven’t done in the past. After doing some research to figure out the best method for doing so, I was actually pretty surprised with the results!
While the most commonly suggested method of yeast reuse amongst homebrewers is a process called “yeast rinsing,” the science actually shows that this is not a good solution. “Top cropping” is a much better alternative when possible, though if you are able to, overbuilding your starter is by far the best method.
This is one of those “tribal knowledge” things I’ve talked about in the past.
The “yeast rinsing” method (often called “yeast washing”) was originally published a long time ago in Charlie Papazian’s book “The Complete Joy of Homebrewing,” which was effectively the hobbyist homebrewer’s bible until John Palmer’s book was released. Ever since, it’s been passed around by homebrewers, from veteran to newbie, as the de facto standard for yeast reuse. Homebrewers taught their children, college buddies, and strangers on internet forums, until it permeated homebrewing culture.
The science does not back this up. Our understanding of the brewing process has evolved a lot even since I started brewing 15-ish years ago. We have so much more information available to us.
There are a number of problems with yeast rinsing – it presents substantial opportunity for infection, it influences the flavors of your next batch with the one you harvested from, it’s a bad way to store yeast, and it stresses the yeast out.
Top cropping, on the other hand, allows you to accomplish the same thing but with better results. It has its own disadvantages, and doesn’t solve all of the problems that yeast rinsing presents, but it will provide you with a much healthier yeast culture and help guarantee a successful fermentation in the new batch.
If you have the foresight and the ability, however, you should always overbuild your starter as your primary method of yeast reuse. This is effectively using the yeast you purchase to make a larger yeast starter than you need, and then only using part of it, storing the rest for later use.
If you do it right, you end up with the healthiest yeast culture, which can be stored nearly indefinitely with minimal maintenance, used as many times as you want with minimal genetic drift over time, and each batch doesn’t influence the next – because you’re not harvesting from the batch itself!
Now that I’ve done my research and I know the options, I know exactly what I’ll be doing for yeast reuse and storage in the future – I’ll be overbuilding my starters and keeping a few of my favorite yeast strains!
For the sake of providing more information, I’ll be going over each of these yeast reuse methods in more detail in this article so that you can evaluate the pros and cons of each and understand why I’ve come to my conclusion – as well as why you might want to use one of the other methods, rinsing or top cropping, in specific circumstances.
For more detailed explanation of how to do these methods, keep a lookout for detailed step-by-step articles on each of the methods individually, coming in the near future!
What is Yeast Rinsing? What are the Advantages and Disadvantages?
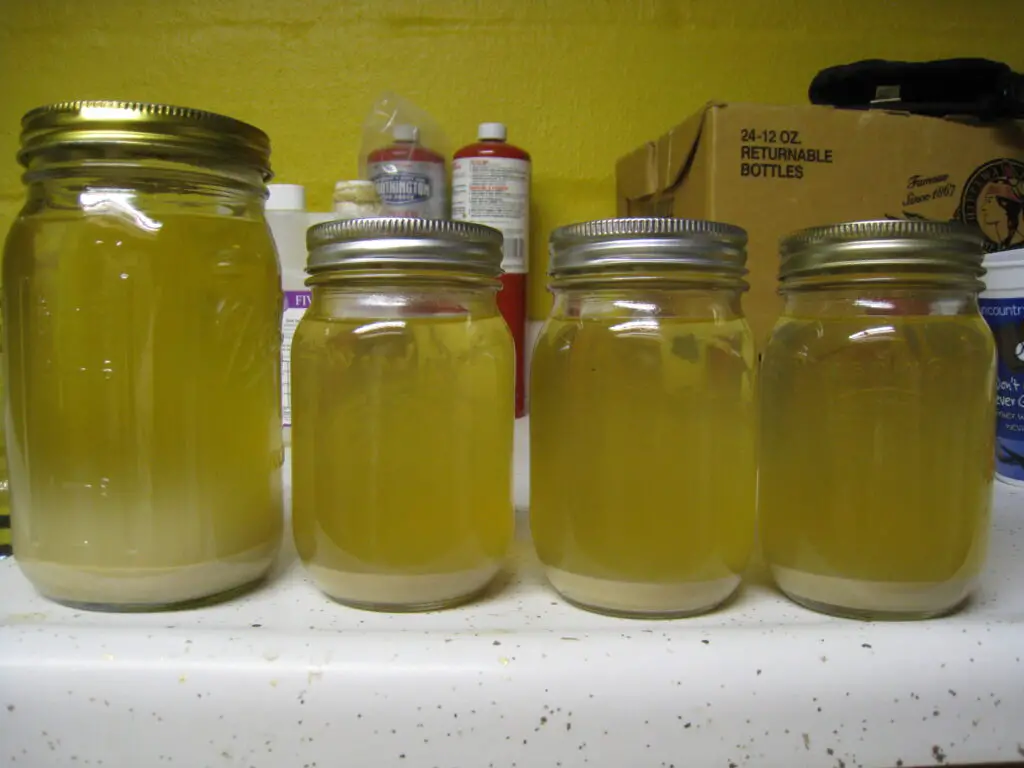
Yeast rinsing is the process of separating usable yeast cells from the trub of a previous batch. It primarily involves scooping out the sediment (and a bit of liquid from the brew) at the bottom of a fermenting vessel after racking or from the bottle, and then diluting the liquid and pouring it off of the solid trub after it settles to remove the live yeast from the rest.

The goal is to end up with a solution that has plenty of live yeast, while leaving behind as much dead yeast as possible, as well as any solid bits like hop particles or fruit.
(Note that many sources use the terms yeast rinsing and yeast washing interchangeably. “Yeast washing” actually refers to a separate process, pH washing, used to sterilize the yeast slurry from any other microorganisms that may have infected it)
There will be a more in-depth how-to guide on this website in the near future, detailing the step-by-step process of actually doing the yeast rinsing process. In this article, we’re just discussing when and why you might do it.
Yeast Rinsing – Pros:
Yeast rinsing can be performed after fermentation is already completed. You can harvest the yeast at any point in the process where there is sediment – after primary fermentation, sometimes after racking from a secondary conditioning vessel, even after you drank a bottle (assuming you bottle-conditioned for carbonation).
What this means is that you don’t have to plan ahead to harvest and reuse the yeast from a batch.
You forgot to save some of your starter before you pitched your mead? Just harvest after primary!
You just tried a beer and it was the best you ever brewed – and you want to recreate that with the same exact yeast? Harvest from the bottle!
One of the requirements of both other methods discussed in this article is that you need to harvest the yeast at a specific point in the process – and if you don’t plan ahead, you can’t use those methods.
Actually, that might be one of the reasons this method is so popular amongst homebrewers. We have a tendency to kind of wing it when it comes to our brews, and being able to make the decision that you want to reuse a given strain of yeast in the moment is pretty convenient, even if it’s not a great method otherwise.
Yeast Rinsing – Cons:
Yeast rinsing really isn’t a great process. It doesn’t provide particularly healthy yeast, it stresses the yeast, and it can result in some very inconsistent results.
Since the yeast is collected at the end of the fermentation process, you’re taking the yeast that has already been exposed to a complicated fermenting environment. The yeast is stressed from its job and from the alcoholic environment, not to mention any other factors that you’ve introduced to stress them out – temperature swings, high gravity, low nutrients, etc.
White Labs performed a number of experiments on how stress impacts reused yeast and, long story short, each new batch produced worse and worse results for a number of factors like attenuation and off-flavors. With each new batch of brew, the yeast was already stressed out from the previous batch, with low glycogen reserves, low nutrients, and poor growth – and was expected to jump right into the next batch, where it just got worse.
Another problem is genetic drift. During fermentation, the yeast cells replicate and die off over and over again. By the time fermentation is completed, the yeast cells still alive are no longer the same ones you originally pitched – and they have their own characteristics, which may have changed from the original generation due to both environmental pressure of the specific brew and random chance.
The new yeast you’re harvesting is derived from the strain you originally bought, but may not have the same characteristics any more. And with each new harvest, these characteristics may drift more and more from the original batch….
That’s why you’ll often see it recommended to only reuse yeast for a few batches before buying the strain fresh again. It’s not that you can’t reuse the yeast, it’s that drift has occurred. The original strain was cultured for very specific characteristics, and the yeast you have after a few uses may not exhibit any of those characteristics anymore.
However, if you follow proper fermentation control, and keep your yeast very happy and healthy through each batch, you may find that the yeast still produces great brew even 10 or 15 batches later – though it might not be the same as the first batch!
The last problem with this method is how previous batches will influence future ones – and not just because of the yeast is adapting to the environment! When you’re harvesting from the liquid and sediment left behind from a racking, you’re inevitably taking flavors from that batch as well – fruit solids, hop particles, grain dust, and even the alcoholic beverage produced.
It gets diluted during the process, but inevitably some of that flavor remains, and gets pitched into the next batch.
This may not be an issue if you’re reusing the yeast to produce another batch from the same recipe again (or if you simply don’t care about the beverages getting mixed around), but it may be an issue if you brew a big, hoppy IPA, and then hope to reuse the yeast for a delicate wine.
Yeast Rinsing – Conclusion
Yeast rinsing has a number of disadvantages, and is not recommended for yeast reuse unless you have no other options.
If you did not plan ahead to take advantage of top cropping or overbuilding your starter, then you’re kind of stuck with this method. And it does work! Just… not as well as the others.
I can also see how you might use the yeast rinsing method, not for harvesting, but for cleaning an overbuilt starter that has sat in storage for a while. After years of use, an overbuilt starter might build up a thick cake of sediment at the bottom, full of dead yeast cells. At this point, you might use the yeast rinsing method to separate the living, viable yeast from the sediment before storing again.
However, if you ever do find yourself using the yeast rinsing method, I would recommend one change: in the past, it was always suggested to store the yeast under sterilized (boiled and then cooled) water. However, this is not good for the yeast, and creates an environment prone to infection!
Instead, I’d suggest first building up the culture with a wort-like starter for a few days, and then storing the yeast under this “beer-like” solution instead. The alcohol and low pH of the “beer” provide a better environment for the yeast to thrive as well as nutrients to keep them healthier, longer.
(For the starter, I’d use something very neutral- or light-tasting, like pale malt extract or pilsen extract)
What is Top Cropping? What are the Advantages and Disadvantages?
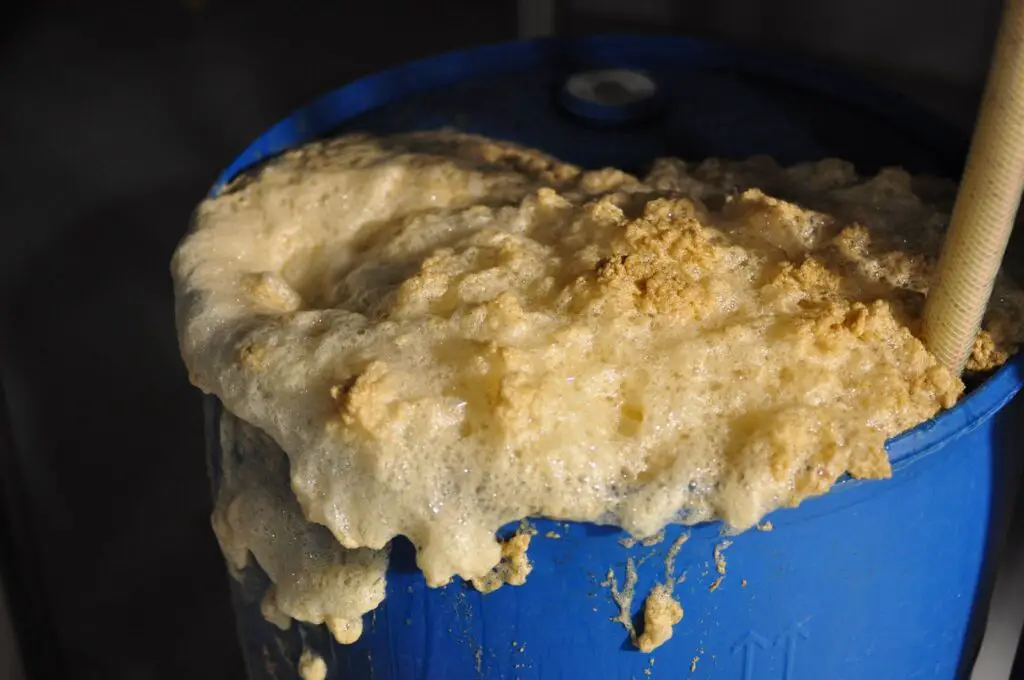
Top cropping is the process of harvesting yeast from the foamy krausen that bubbles up from the top of your brew during the most active, vigorous phase of fermentation.
This is by far the oldest method of collecting and reusing yeast for fermentation. In fact, for most of our history, alcohol was brewed with open fermentation, where the vessel was unsealed/uncovered until fermentation was complete. This made it incredibly easy for brewers to simply scoop some of the krausen from the top.

In fact, before brewers even knew that yeast existed, they performed top cropping. They knew that they could harvest some of the foam from the ongoing fermentation, and using it in the next batch would ensure that the brew would actually ferment.
(The alternative was leaving it up to random chance – and hoping a wild fermentation would kick off!)
Top Cropping – Pros:
Top cropping is a much better alternative to yeast rinsing for harvesting your yeast for reuse.
When you harvest the yeast from the top of the fermentation, during its most active stage, you are ensuring that you’re collecting only the most healthy, active yeast. Any yeast cells that are not performing have already flocculated and fallen (or are falling) to the bottom of the fermentation vessel.
(Do be sure to collect yeast from the white foam – the brown foam contains yeast, but much of it is in the process of flocculating and will not produce as healthy of a fermentation in the next batch).
With top cropping, the yeast are so healthy and lively, you don’t even need to build up a starter – simply scoop the krausen from the top of the active fermentation and plop it right into your wort or must to begin the next one!
The exception to this is if you plan on storing the yeast for a time. While you can simply put the foam into a jar and stick it into the refrigerator for a very short time (think: days), any longer than that requires extra steps to keep the yeast alive and happy until you’re ready to use them.
If you plan on storing the yeast for reuse weeks or months later, I would suggest actually doing a starter and storing the harvested yeast under the “beer” (same as in the last section: use something neutral like pale malt or pilsen extract so as not to influence the future batch).
Top Cropping – Cons:
While with top cropping, you ensure a much healthier, happier yeast culture for your next batch, the process still shares a number of the same disadvantages that yeast rinsing has.
The biggest one is that, with top cropping, you are still going to experience genetic drift at the same pace. By harvesting after fermentation has begun, you’re getting yeast cells that are generations younger than the original ones pitched, and they are likely to have undergone a number of characteristic changes.
While this might not always be a terrible thing, it results in inconsistency – particularly if you were hoping to keep and reuse a very specific yeast strain that was cultivated for a very specific set of desirable traits.
Another issue is that you’re still harvesting the beer, mead, or wine you’re brewing alongside the yeast cells. The flavorful liquid, along with any solid matter such as hop particulate or fruit bits, is present in the foam and will get pitched into your next brew.
For lighter, more neutral brews, this may have minimal impact. If you’re pitching the yeast into a new batch using the exact same recipe, then it really doesn’t matter. However, trying to reuse yeast this way for something different will result in one batch influencing the flavor of the next one – which may be undesirable, especially for incredibly flavorful brews.
Finally, probably the biggest downside to top cropping (sometimes) is that you have to have the right set of circumstances to even be able to top crop in the first place. Top cropping requires a yeast strain that actually forms a krausen, an open-mouthed fermentation vessel that allows you to actually access the krausen (you’ll have a hard time harvesting from a carboy), and the brewer must be ready to harvest at the right time during the fermentation.
In practice, this isn’t difficult to overcome. You probably won’t be able to harvest lager yeast for reuse via top cropping (since it tends to “bottom ferment”) and some wine fermentations don’t produce a vigorous enough foam, but most yeast strains work just fine.
Additionally, you’ll want to be sure to avoid carboys and other skinny-necked vessels for primary fermentation – but you should be doing this anyways, as they’re really not best-suited for that stage of the process.
Top Cropping – Conclusion
Top cropping has been the method used to successfully reuse yeast and produce healthy fermentations for thousands of years! With that much history, it has to be successful.
It’s a much better alternative to yeast rinsing and harvesting from the sediment post-fermentation because it provides a much healthier, more active yeast culture, which is ready to go right into the next batch and keep on working.
However, it’s got its own fair share of disadvantages. Genetic drift and previous batches influencing future ones aren’t the end of the world, though.
Modern science has a much better understanding of yeast than most of the brewers from history. We know better how yeast function and how to best provide them with what they need in order to produce the flavor profile we’re looking for in a given brew.
We know now that we can pitch yeast from a carefully-cultivated starter to produce the best possible results. Which brings me to….
What is Overbuilding a Yeast Starter? What are the Advantages and Disadvantages?

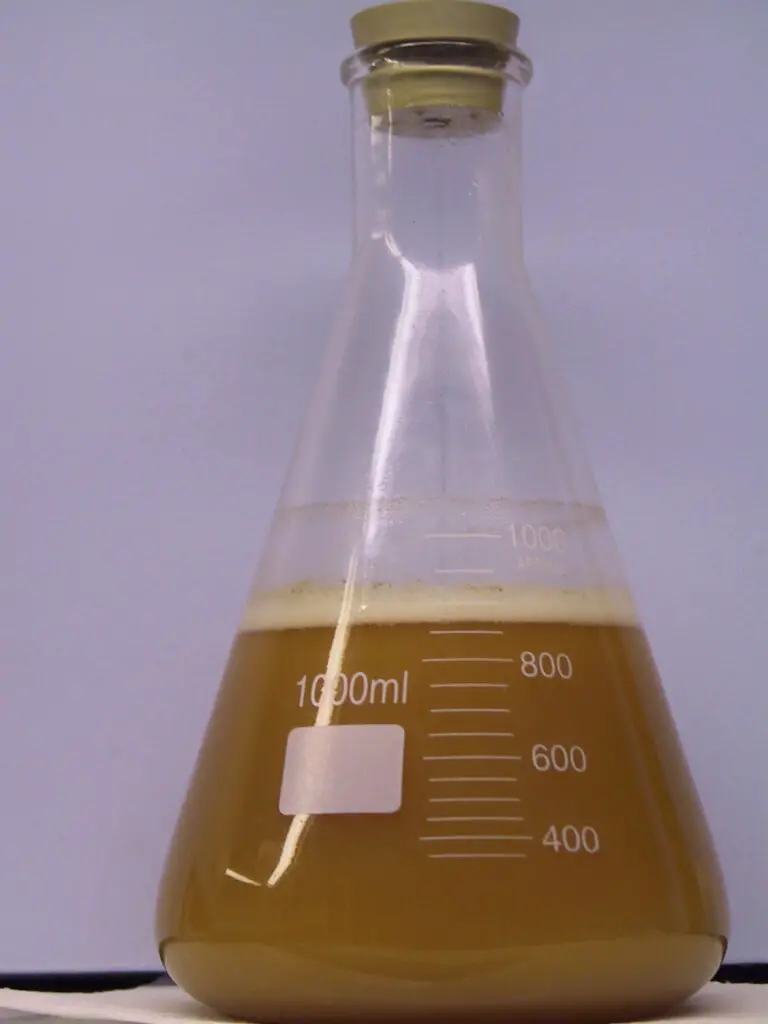
Overbuilding your starter is the process of building up a bigger yeast starter than you need, and then pitching only part of the starter, while keeping the other part for future batches. With each batch, the starter is built up again, so that you can keep some of it in storage.
The idea is that, instead of harvesting yeast post-fermentation, you’re keeping a store of yeast from the initial culture, and that store provides yeast for all future batches.
It kind of reminds me of the same process as having a sourdough starter (and involves a lot of the same steps). The main difference is that you’re using a commercially available strain to get it going rather than trying to catch wild yeast (although you can do that, too, if you’d like).
Overbuilding the Yeast Starter – Pros:
By overbuilding your starter, and using part of it with each subsequent batch, you can stretch the useful life of a packet of yeast seemingly indefinitely – getting around nearly all of the disadvantages of the other methods discussed in this article!
Brewers have used this method to successfully brew 10+ batches from one yeast purchase with no noticeable change in character from the first batch to the last. This is anecdotal, of course, but it makes sense – since the yeast you’re using never underwent a full fermentation, they did not get the chance to reproduce over and over in a short amount of time.
Far fewer reproductions occur over the span of those 10+ batches (since the starter used to produce the yeast only resulted in enough to use for a batch, plus some extra). There were not as many chances for the yeast to change characteristics. It’s likely that some change occurred, but not enough to be noticeable – which is what we care about most as homebrewers.
You’re also producing the healthiest and most active yeast that you possibly can. The yeast cells are only exposed to the starter prior to being pitched – they haven’t undergone a full fermentation, and haven’t been given the opportunity to become stressed or forced to work in an environment potentially lacking nutrients.
The starter will also theoretically keep in storage indefinitely. Some brewers have commented that they were able to rouse a starter kept refrigerated for over a year! However, I would recommend this: if the yeast has not been used after about 6 months, you should feed your starter with some more malt extract to build back up the number of healthy yeast cells.
And it’s ridiculously easy. If you know how to build a starter (and most brewers do), then you know how to overbuild one – just provide more sugar and time than you usually would in order to let the cells multiply!
Overbuilding the Yeast Starter – Cons:
The only real downside to this method is that you have to plan ahead. You can’t decide to save and store your yeast this way once you’ve already pitched the entire pack – and you definitely can’t do it on a whim after fermentation is already complete.
This also means that you might not know how the yeast strain will behave if you’ve never used it before.
If you decide that a particular batch had a very good fermentation – it went smoothly and produced amazing flavors just as you wanted – but you can’t just go back in time to overbuild the starter. At this point, you would either need to harvest the yeast via rinsing or buy a new packet to build a starter from.
And that’s probably why this isn’t a more commonly used method of keeping yeast! We homebrewers have a tendency to fly by the seat of our pants when it comes to brewing, and we don’t tend to plan ahead.
But honestly? It’s not that hard. You probably don’t want to keep too many different strains on-hand anyways (unless you’re really into storing yeast). I’d suggest just picking out a few that you really like (and ones you know you’ll use often – the more versatile strains are better) and just building up starters of those for long-term storage.
Overbuilding the Yeast Starter – Conclusion
All it takes is a little bit of planning ahead and knowing that you’ll want to keep some of a given yeast strain for the future.
Honestly, it seems like overbuilding your yeast starter is by far the best method of yeast reuse – and there’s really no contest.
I plan on using this method to harvest and store a jar of Lutra Kveik before I begin my next brew day – and I plan on using that strain again and again for many brews going forward!
Conclusion
In this article, I’ve presented the three most common methods for harvesting and reusing your favorite yeast strains.
Any of them will do. Even yeast rinsing has worked well enough for many homebrewers over the past few decades.
(Just be sure to grow the culture up with a nice yeast starter, and store your yeast with the neutral-flavored “beer” the starter produces, instead of the usually-recommended sterile water!)
However, if you really want the best results, and you want to make the best brews you can, I would definitely suggest overbuilding your starters for any yeast strains you’d like to keep.
I know that’s what I’ll be doing!
For more information on storing your yeast after harvesting, check out this article!


