For most brand new brewers and those who have only attempted extract-based beer, all-grain brewing is daunting. Not only is it a more complex process, it also seems like you need very complicated and expensive equipment to do it properly. But that’s not true!
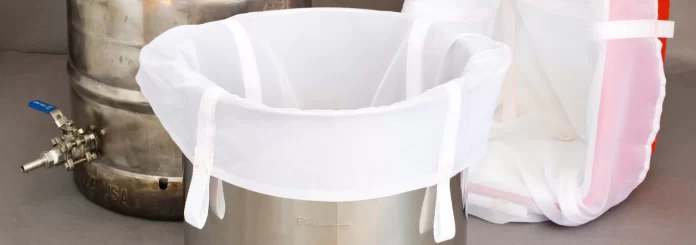
All-grain brewing can absolutely be done without spending much money. The cheapest option is to use the “brew-in-a-bag” or BIAB method. In addition to the equipment you might already have, all you really need is a cheap grain bag.
When I first started getting into the hobby, homebrewing wasn’t quite as popular as it is today. BIAB was not as commonly spoken of online, and you couldn’t just go online and buy a fancy all-in-one brewing setup like the Clawhammer Supply system or the Grainfather.
I remember reading through forums, trying to understand the basics of the hobby, and being scared off of all-grain brewing after seeing how every example of an all-grain setup was some complicated, homemade DIY 3-vessel setup that required intricate know-how, materials, and welding equipment.
But nowadays BIAB is the go-to solution – and it’s incredibly cheap and easy to understand!
What Is BIAB Brewing?
BIAB stands for “Brew in a Bag.” It is a very simple form of all-grain beer brewing that uses a single brew kettle for the entire process. This is done with the use of a grain bag to contain the grains, which is submerged in the wort during the mash step and removed when the mash is complete.
Brewing with BIAB allows the brewer to learn the mashing process without a complicated, and often expensive, 3-vessel setup.
In fact, it’s the most common homebrewer setup these days. Even the higher-end brewing setups that you can purchase online are almost all based on the BIAB process!
What Do I Need In Order to Brew With BIAB?
To complete your BIAB setup, you really only need some basic equipment.
If you’re an extract brewer already, you should have everything you need except for the grain bag and possibly the wire rack; even if you’re not an extract brewer, you can likely find most or all of these things (except the grain bag and possibly a fermenting vessel) in your kitchen.
The following table will list every item you need to brew with BIAB, as well as some optional items at the bottom. .
| Item | Find in Kitchen? | Where to Purchase | Comments | |
|---|---|---|---|---|
| Brew Kettle | ✔ | Click for 5 Gallon | If you have a standard cooking pot large enough (I would use a 5 gallon pot for a 1-3 gallon batch, or a 10 gallon pot for a 5 gallon batch) then you can simply use that instead. | |
| Click for 10 Gallon | ||||
| Thermometer | ✔ | Click Here | Any thermometer for cooking will work. I have used a basic analog turkey thermometer successfully, however if you can afford it I would recommend a digital meat probe, often used for smoking or grilling, particularly one with wireless capabilities that will connect to your smartphone. | |
| Grain Bag | Click Here | Look for a grain bag large enough to fit the largest batch you plan on using it for. You can always use a larger bag for a smaller batch, but you cannot use a smaller bag for a larger batch. | ||
| Mash Paddle | ✔ | Click Here | There is no need for an actual “mash paddle” other than to feel like a proper brewer. Any spatula, large wooden spoon, or other stirring apparatus will work. Of course, something with a long handle that reaches deep into the kettle will do a much better job. | |
| Kettle Insulation | ✔ | Click Here | While I have linked Reflectix here, you can easily just tie down a bunch of thick winter jackets around the kettle instead, and it will have the same effect. | |
| Wire Cooking Rack | ✔ | Click Here | Any wire rack will do, as long as it will cover the entire opening of the brew kettle and will sit on top without falling. | |
| Fermenting Vessel | Click for 1 Gallon | Any fermenting vessel will do, including a food-grade bucket or a basic carboy. I have linked one of my favorites that I use often in both 1- and 5-gallon sizes. | ||
| Click for 5 Gallon | ||||
| Airlock | Click Here | If you already have siphon tubing, you can instead do a blowoff tube | ||
| —Optional Equipment— | ||||
| Hydrometer | Click Here | Not necessary, but it will allow you to be more precise. It will help you determine more reliably when primary fermentation has finished, and allow you to measure the O.G. and F.G. to calculate your ABV. | ||
| Flask | Click Here | For use with the hydrometer | ||
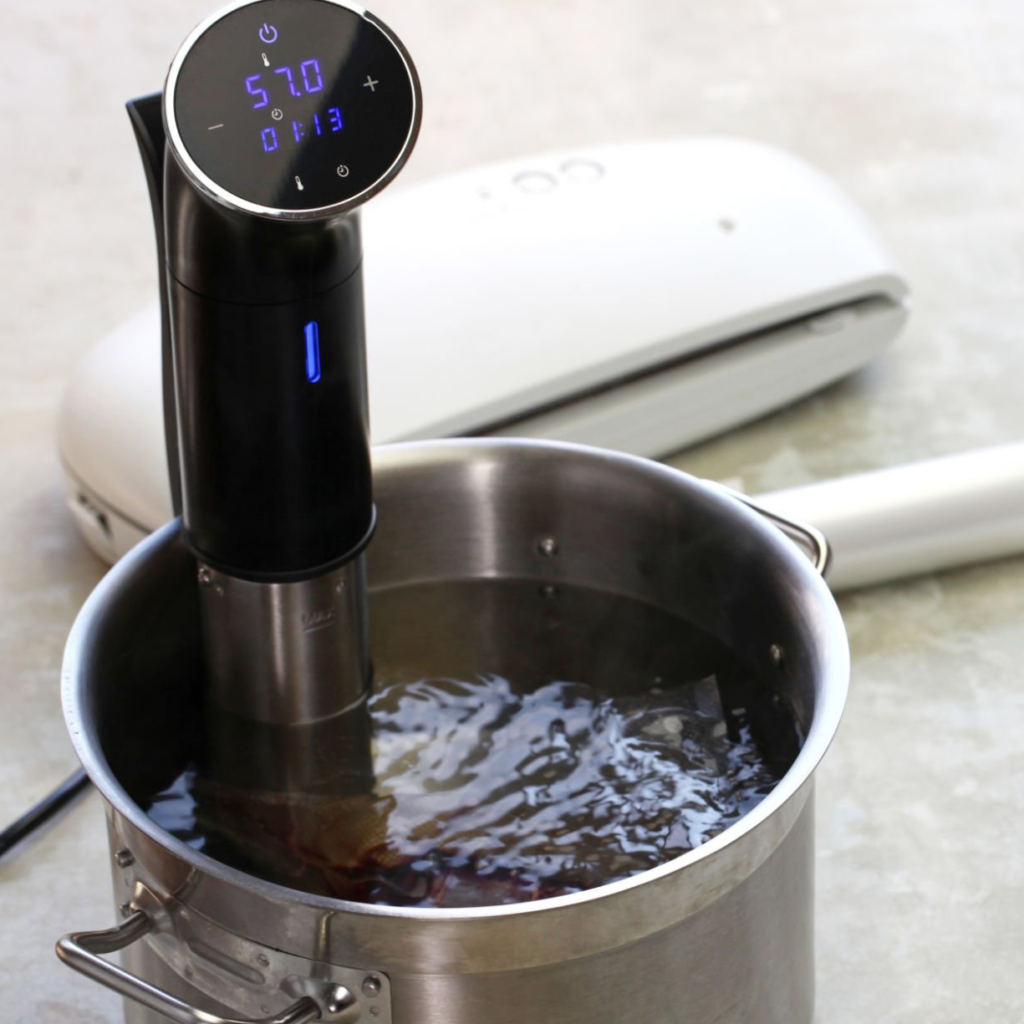
| Sous Vide | ✔ | Click Here | See section below | |
Total cost at the time of writing this: $110 for small batches, $285 for larger batches.
This total amount is for everything listed above except, of course, the sous vide machine. You most likely have some of this equipment already, and will not need to pay the entire amount to get started.
If you only need the grain bag, your cost is $9.99.
Also note how it is quite a bit more expensive to buy equipment for bigger batches. Brew kettles and fermenting vessels for smaller batches are much easier, and thus cheaper, to come by.
Can You Use a Sous Vide for All-Grain Brewing?
You can use a sous vide as a solution for controlling your mash temperature when brewing beer with all-grain. It is more precise than simply insulating your brew kettle, but it is also a more expensive option if you don’t have a sous vide already.

If you own a sous vide machine already (for cooking most likely), then you can also use it for better temperature control during the mash. This is far simpler and more precise than just sealing up the kettle and then insulating it to try and prevent heat loss.
The sous vide machine is not great for changing temperatures quickly, so you would not want to use it to bring your mash up to temp. For the same reasons, you would not want to use a sous vide for something like a step mash.
However, if you bring your water up to mash temperature using a better heat source (your kitchen stove or a propane heater), you can then use the sous vide (after adding the grain, of course) to maintain that temperature for the duration of the mash without worrying about heat loss.
The added benefit is, since you do not need to seal up the kettle, you can continue monitoring the mash or stir up the grain as necessary.
I don’t think I would buy a sous vide just for brewing, however. I wanted one for cooking long before I even realized it could be used for brewing – I think that’s when it makes sense to pull the trigger and make the purchase.
The Typical Brew Day Using a Budget BIAB Setup
In the infographic below, I’ll give a quick overview of how to use the equipment listed above to actually brew the wort on brew day.
This is not in-depth, but should give you a solid idea of how to use the equipment. I will be writing a full step-by-step guide for an all-grain brew day using budget equipment in the near future, though, so be on the lookout for that!

Conclusion
All-grain brewing does not need to be expensive or daunting. In fact, you probably already have most of the equipment you need, usually with the exception of a cheap grain bag!


