When you brew a batch of homemade wine or mead, fermentation just goes. Most fermentations will continue until the batch is dry, usually finishing under 1.000 S.G. However, many people prefer a sweeter drink; so how, then, do you make your wine or mead sweeter?
To sweeten a homemade dry mead or wine, you must first stabilize or stop yeast activity. This can be done using sulfites, pasteurization, or a handful of other methods. Once the mead or wine is stabilized, you can sweeten the batch to taste using honey, sugar, or another sweetener.
To be honest, I rarely back-sweeten the things that I make. I tend to prefer bone-dry, intensely tannic wines and meads, both when buying commercial products and when making it myself.
However, I realize that not everyone has my palette or my preferences. Sometimes, I find myself needing to cater to others, brewing something a bit sweeter than I’d like so that a friend might enjoy it a bit more.
So, I’ve had to learn how to properly back-sweeten a dry wine or mead.
Methods for Back-Sweetening
Before you can add more honey or sugar to the batch, you have to completely stop yeast activity. You need to either kill them off entirely, or inhibit all activity.
Once fermentation has completed, it doesn’t mean the yeast are done. Any new addition of sugar will kick-start a second fermentation; the yeast will consume all of the new sugars and produce more alcohol.
This means that, if you attempt to add more sugar and bottle your wine or mead without stabilizing it first, you’ll end up with:
- An even higher-alcohol, yet still bone-dry, end product.
- Bottle bombs! Fermentation will occur in the bottles, creating more CO2, which will inevitably create more pressure than the bottles can hold.
Commercial wineries and commercial mead-makers typically use expensive, complex filtration and pump systems to remove every yeast cell from their batch before processing and selling it.
But that’s completely unreasonable at the homebrew level. Those filtration systems are pricey. It’s basically a no-go for us.
Don’t fret, though! While we can’t remove every yeast cell, there are a handful of ways to kill them off or stop yeast activity completely.
And then, once they’re stopped, you can add as much extra sweetness as you want without worry!
1. Stabilize First With Sulfites
Using sulfites to stabilize a wine or mead is probably the most common method used by homebrewers.
It’s straightforward, it’s reliable enough, and it doesn’t take any special equipment or skill.
The basic premise is to use a combination of chemicals (Potassium Metabisulfite and Potassium Sorbate) to completely stop fermentation.
NOTE: Sulfites DO NOT KILL YEAST! This is a very important distinction. The yeast remain alive in your brew; their reproductive and metabolic processes are simply inhibited.
The implication here is that, when using sulfites to backsweeten, you need to take great care to do it right. You must use enough of both potassium metabisulfite and potassium sorbate to ensure fermentation is completely stopped; and if the liquid ever becomes diluted enough, the yeast will wake up and begin working again.
This could result in bottle bombs!
But it’s not very complicated, and is a method widely used by wine- and mead-makers both at home and in commercial settings without issue, so don’t shy away from it!
How It Works
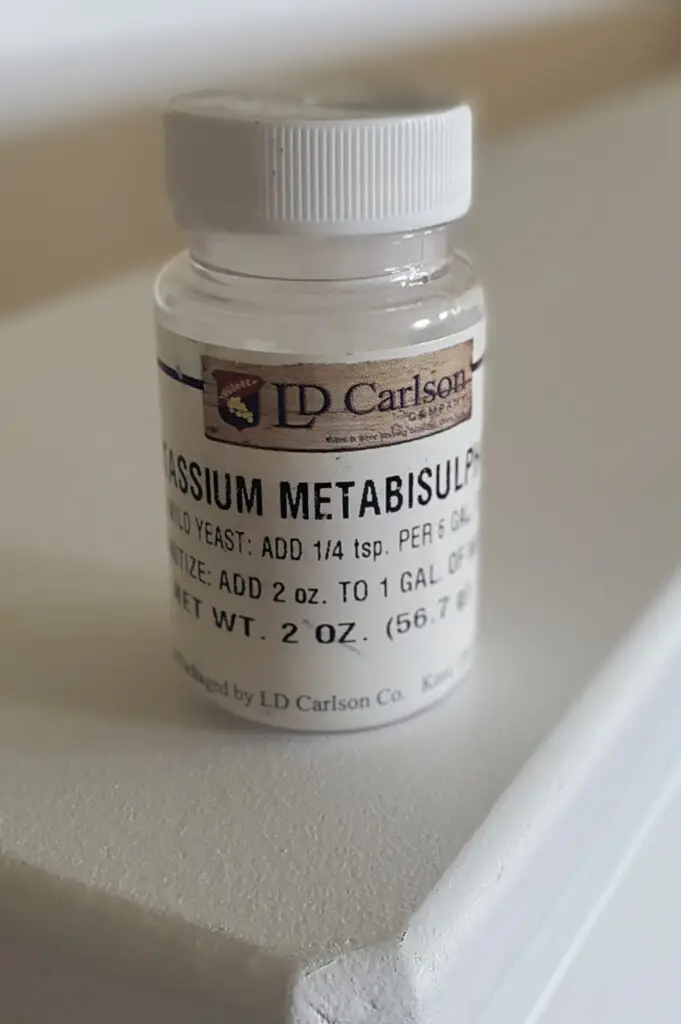
To properly stabilize your mead with sulfites, you need BOTH Potassium Metabisulfate AND Potassium Sorbate.
They work in conjunction with each other: using only one does only half of the job. The wine or mead will not be properly stabilized, and the yeast colony will likely recover and begin working again.

It’s also important to note that stabilization should be done when fermentation is complete. Sulfites work most effectively on a dormant yeast colony, and will not reliably stop a healthy fermentation.
This means that, while it might work sometimes when added to active fermentation or immediately after, it also might not work! However, when done right – after fermentation is complete and the yeast has been given time to flocculate – it will much more reliably prevent further fermentation.
Potassium Metabisulfate (most commonly used by homebrewers in the form of Campden tablets) removes oxygen from the brew (and is often used to mitigate or prevent oxidation as well). With larger additions, it will additionally reduce the population of the yeast colony, resulting in a much smaller colony that can struggle to grow and re-establish itself.
Potassium Sorbate, added next, will inhibit the reproductive and metabolic processes of the remaining yeast cells, preventing any attempt by the colony to re-grow or re-ferment.
Further explanation of the actual science and chemical/biological processes involved in stabilization would merit its own article, but this summary should be enough to give you an understanding of the process.
Steps for Stabilizing Your Mead or Wine
To follow this method, you will need some Campden tablets (one tablet per gallon should suffice) and potassium sorbate in powdered form.
A more detailed explanation of the process also merits its own article, however, the following summary should be enough for you to get started!
- Wait until your wine or mead is complete, clear, and ready to bottle! If you use finings of any kind, be sure to give them an additional week or two to completely clarify the batch.
- Rack again into a new vessel (bucket, carboy, etc.). Be sure not to siphon any yeast sediment during this process to ensure as few yeast cells as possible make it into the final product.
- Add your potassium metabisulfite. 1 tablet per gallon is enough. Simply crush the campden tablets into a fine powder, dump it into the vessel prior to racking, and siphon the liquid on top.
- Add your potassium sorbate. The exact required dosage is dependent on a few variables, but 0.75 grams per gallon (or 0.5 tsp per gallon) will be enough to safely halt fermentation. It does not easily dissolve, so you may have an easier time stirring it into a small amount of wine or mead taken from your batch and then adding that liquid back to the batch after racking is complete.
- Add your sugar, honey, or other sweetener at this point. You do not have to wait; the sulfites will do their job and stabilize the batch almost immediately. It is strongly recommended to sweeten the entire batch in the vessel you’ve racked into at this point, before bottling.
- Bottle (or keg, etc.). Again, you do not have to wait; you can do this entire process on bottling day.
2. Pasteurize Your Mead or Wine
Pasteurization is by far the most reliable method available to homebrewers for stabilizing a fermentation. It’s also the only method to truly stabilize and back-sweeten a brew, while also being able to use the natural fermentation of the yeast to bottle-carbonate the beverages.
However, it is not without its drawbacks.
It requires substantially more care and precision than other methods listed here. If done wrong, it can be dangerous.
If you don’t know how pasteurization works: the idea is to kill off the yeast colony completely. Some cells will remain in your mead or wine, but they will be dead and thus unable to reproduce or metabolize sugar.
Pasteurization works because heat kills things. More specifically, at 160°F, the microbes in something are almost immediately killed off. At 140°F, it still works, it just takes more time – keeping something (like a bottle of mead or wine) at a consistent 140°F for 20 minutes will work just as good as getting it to 160°F for a moment.
However, pasteurization of homebrewed beverages typically involves doing so after bottling – particularly if you plan on both back-sweetening and bottle-carbonating. This means that you are heating a sealed, possibly pressurized container.
I touched on this in a recent article about cold crashing (or rather, I touched on the inverse of the concept) – heat causes the volume of something (like carbonation, or wine) to expand, increasing pressure. Too much pressure, which can be caused by high temperatures, can result in the rupturing of a vessel that can’t handle it.
If that vessel is a glass bottle, you have bottle bombs.
So, it is very, very important that, if you plan on pasteurizing your bottles, you take great care:
- Do not exceed the necessary heat to pasteurize! Higher temperatures will be more likely to cause bottle bombs. I strongly recommend pasteurizing at 140°F for this reason – it may take longer, and require you to keep a consistent temperature, but it’ll be much safer.
- Monitor the pressure inside the bottles! This can be done by using one plastic PET bottle (which must be drunk more quickly than the glass ones). You can monitor the pressure in a plastic bottle more easily – it will change in rigidity, like an unopened soda bottle.
To hit both of these points, I recommend using a sous vide to achieve a specific temperature and to keep it there consistently. It’ll make it easier (and thus safer) to achieve that 140°F and keep it there for 20 minutes.
Personally, I love my Anova sous vide. It’s a bit of a pricier purchase at about $150, but it’s also not just a piece of homebrewing equipment – you’ll get a ton of use out of your sous vide even outside of the hobby!
If you aren’t able to (or don’t want to) use a sous vide, I strongly recommend not using the pasteurization method to stabilize your wine or mead.
Steps for Pasteurizing Your Mead or Wine
- Let fermentation finish. Back-sweeten your mead or wine to taste, and then bottle it as you normally would.
- (optional) Give the bottles time to carbonate. Monitor carbonation and pressure inside of the bottles closely; if you let this second fermentation finish, you will have bottle bombs. Using one plastic PET bottle can help with monitoring pressure.
- Pre-heat the bottles slowly and carefully to around 100°F in a tub or sink full of hot water. This is an important step! Exposing them immediately to hotter temperatures can result in bottle bombs.
- Bring a separate pot of water to either 140°F or 160°F. Be sure enough water is in the pot to cover the bottles to the neck, but not to submerge the cap or cork. This step is greatly simplified using a sous vide cooker.
- Place your bottles gently in the hot water. At 160°F, you only need to leave them for a few seconds; they will be instantly pasteurized. At 140°F, you must leave them in the water for 20 or more minutes while keeping the water temperature consistent. Err on the side of leaving them submerged too long – longer times are safe, but shorter times may not completely pasteurize the drink, and can result in fermentation continuing!
- Remove the bottles from the pot, chill very slowly and carefully, and either drink or age them further.
3. Add TOO MUCH Sugar, So Not All of It Ferments
Simply overdoing it on sugar content so the yeast are unable to ferment the batch completely – sounds like the easiest way to make a sweet drink, right?
Unfortunately, it’s not as simple as that. This method can work, kind of, but it’s not very consistent or reliable.
A high O.G. must will stress the yeast, particularly if the must is primarily table sugar or honey and doesn’t provide adequate nutrients for fermentation. High alcohol content will stress the yeast even more near the end of fermentation.
This stress will prompt the yeast to throw off-flavors, resulting in a wine or mead that, at best, requires a lot of aging – and may never be as good as you’d hoped.
Brewing a high-ABV or high-sugar batch like this requires careful attention. You may need to use a complex nutrient addition schedule and even step-feed the honey, sugar, or fruit to ensure that the yeast completes its task and doesn’t stall or outright refuse to ferment the batch.
Even then, if you do everything right, a big mead or wine that might be 16%, 18%, or higher will taste like jet fuel for a while after fermentation – even with the residual sugars. You’ll end up needing to let it age in the bottle for a lot longer than normal – possibly years – before it reaches the quality you were hoping for.
A mead or wine made using this method can actually turn out very good – it just might take time and patience, not to mention a careful process during the fermentation.
Alternatively, you could turn the equation on its head: instead of using a ton of sugar, you could choose to use a yeast strain with a low alcohol tolerance.
However, it’s important to note that these yeasts can often outperform expectations. For example, it’s often suggested that ale yeast strains typically only ferment up to about 9%; however, in the presence of sugar sources that are more easily fermentable than malted grain (such as honey or fruit) a given ale strain can often ferment far beyond that number.
In the end, using this method, even if everything works out, it can still be difficult to really dial in the sweetness and produce the results you were hoping for.
You might decide to use a yeast that typically ferments to 14%; but that’s not an exact number. So how much extra sugar should you add to produce your desired sweetness? How can you know whether it’ll peter out at 13% or continue working until 15%?
What if it has a particularly active fermentation? You may have started with a 1.140 O.G. must in hopes of producing a semi-sweet 1.020 batch at 14%, but the yeast chewed through it like it was nothing and you ended up with a bone-dry 17% drink.
Or maybe all that sugar caused it to stall and refuse to ferment past 9%, and now you have a mildly-alcoholic, cloyingly sweet fruit juice.
This method is acceptable if you’re not really concerned about results; but it’s not recommended.
4. Add Unfermentable Sugar or Artificial Sweetener
One option is to use a sweetener of some kind that the yeast can’t process into alcohol.
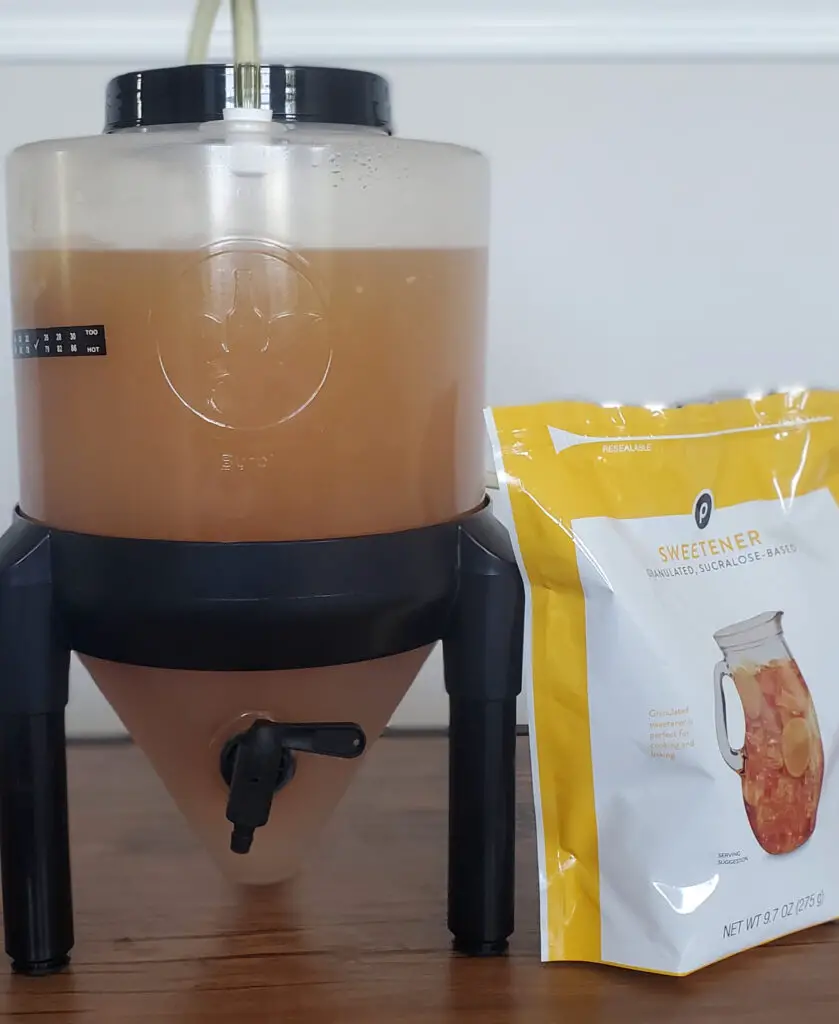
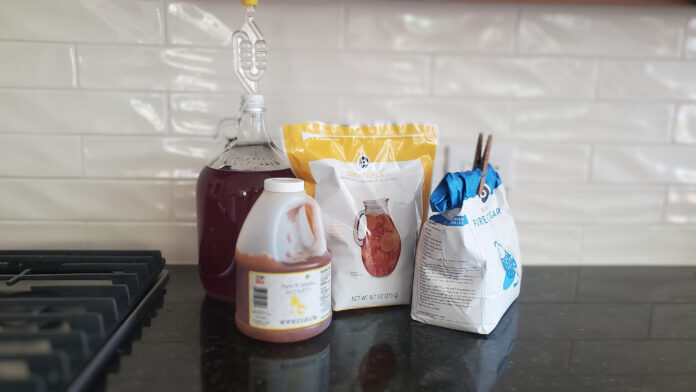
There are a number of natural sugars that yeast cannot process, such as lactose and maltodextrin. Additionally, you can use the same artificial sweeteners often found in diet foods and beverages, such as aspartame, sucralose, and stevia.

The use of unfermentable sugars is probably the safest way to back-sweeten your batch. You know for a fact that fermentation will not kick-start itself again in the bottle, and you don’t need to deal with the dangers of heating a pressurized container.
However, it does come with one fairly obvious drawback: you’re using non-standard sweeteners, which have their own unique flavors.
The addition of these sweeteners – particularly the artificial ones – will give your wine or mead a distinct taste that’s quite different from what you might be expecting – different from what you’d get if you used honey, sugar, or fruit to sweeten.
Plus there are the health concerns related to artificial sweeteners, if you believe in that.
If you enjoy the flavors of these sweeteners, then go ahead and use this method! If not, then you will need to skip it and try a different one.
5. Sweeten Your Drink in the Glass at Serving Time
Historic cultures, for most of human history, did not have modern technology, fancy chemicals, or an understanding of pasteurization.
From what I understand, the method for sweetening a drink for these historical cultures (the Vikings, for example) was to add honey or another sweetener directly to the glass at the time it was drunk.
They would likely be fascinated by our ability to sweeten the beverage immediately after fermentation, and to have a sweetened batch in storage.
But if you need a simple solution to sweeten your meads and wines, the simplest by far is to just sweeten it in the glass when you pour it.
This has the added benefit of variability: you can serve the same bottle to multiple people with different preferences, and each person can sweeten to their individual taste. Alternatively, you can sweeten multiple pours from the same bottle to different levels of sweetness, and enjoy a different experience with each drink!
However, it would be a bit annoying to have to do this each and every time you poured a glass. Additionally, we as a society have gotten used to the way things are: meads and wines are what they were intended to be straight from the bottle. I imagine trying to serve a homemade mead or wine to a guest and then explaining that they need to sweeten it themselves would garner some strange looks.
Furthermore, there’s something to be said about aging a wine or mead in its entirety. Adding sweetness before aging will allow that sweetness to mellow and to meld with the other flavors in the brew, producing something more complex and interesting than if it were sweetened after.
Can You Both Back-sweeten a Mead or Wine if You Plan to Carbonate It?
What we’ve learned is, in order to back-sweeten a mead or wine and end up with something that’s not dry, it is all but required that fermentation be halted and all further yeast activity inhibited. But a second fermentation in the bottle is how carbonation, and thus a sparkling beverage, is produced, right? So how would you produce a carbonated mead or wine, and still be able to back-sweeten it?
You can both carbonate and back-sweeten a mead or wine a number of ways. While it is not possible to first stabilize it with sulfites and then back-sweeten the batch, you can use pasteurization, sweeten with unfermentable sugars, or force-carbonate using a keg system.
This problem often stumps new homebrewers when they attempt to carbonate a sweet mead or wine for the first time. At this point, the brewer is likely familiar with the concept of stabilizing with sulfites – but that method won’t work if you plan to also bottle-carbonate it, for obvious reasons.
However, any of the other methods above can be used to produce a carbonated, yet still sweet, beverage.
Additionally, there’s another option that was not mentioned: kegging!

Of course, this requires extra equipment (a full kegging system), but if you have the right setup then there is nothing stopping you from stabilizing, back-sweetening, and then tossing your brew into a keg for carbonation and serving.
Plus, if you messed anything up along the way and fermentation kicks off again, the keg will happily handle the extra pressure without rupturing – that’s the point, after all!
(Honestly, if you can swing it: kegging is the way to go. Getting a keg setup was a game-changer for me, homebrewing-wise.)
If you want to pursue kegging without diving in and getting a whole setup, an all-inclusive mini-keg like this one on Amazon will do the job. It’s how I dipped my toes into kegging before getting the full setup.
What NOT to Do: Refrigerating an Active Fermentation
Contrary to popular belief, dropping the temperature of your brew does not halt fermentation or kill the yeast.
While it is possible to kill a number of yeast cells by freezing the batch, I’m sure you don’t want to do that to your precious drink. Plus, it won’t kill all of the yeast, and when you bring the temperatures back up above freezing, they will start reproducing again and get back to fermenting.
Cold temperatures can, and often do, slow fermentation to the point that it seems like it has stopped. This might be fine if you back-sweeten, bottle, and then drink all of the batch within a few days – but even then it’s pretty risky.
Do not back-sweeten and then refrigerate an unstabilized mead or wine! Fermentation will not stop just because of the cold temperatures, and even though it may slow down, you are still almost guaranteed to get bottle bombs eventually!
Why Back-sweeten Your Mead or Wine, Anyways?
Should you back-sweeten your mead or wine at all?
If you were to read forums and other wine- and mead-making content online, you’d probably assume the answer was, by default: yes, you should always back-sweeten the batch! In fact, I’ve been told outright that I was wrong for preferring my meads and wines dry.
But that’s just dumb.
If you don’t want to back-sweeten, then don’t. I don’t for most of my batches, and I enjoy them far more than I otherwise would.
But that’s just me!
If you like your beverages sweeter, or if you find a given batch to be astringent, acidic, or out of balance, then back-sweetening is the answer.
How Much Should You Back-sweeten?
While it is strongly recommended that you back-sweeten your mead or wine to taste, according to your individual palette and preferences, a good rule of thumb is to sweeten to a specific gravity of 1.010 to 1.015 for a semi-sweet batch or 1.020 to 1.025 for a sweet one.
To be completely honest, I cannot answer this for you. It depends entirely on your own personal palette and preferences. I like my meads and wines bone dry and tannic so I tend not to backsweeten at all: sweet and semi-sweet commercial meads and wines are too sweet for me.
If I do backsweeten, it’s for other people.
Furthermore, each individual batch is different and requires a different balance. Much like the addition of tannin and acid, the addition of sweetness must be carefully balanced according to what’s already in there.
For this reason, I recommend always sweetening to your taste. Carefully add small amounts of your sweetener, stirring it in thoroughly, and trying it. Do this in as small of increments as possible, as you can always add more, but you cannot remove it once it’s there.
Add, stir, taste – again and again until it is perfect. Then, it’s ready!
Conclusion
There are a number of methods to stabilize your wine or mead and back-sweeten it to taste.
Every one of them has its merits and its drawbacks: they can be dangerous, unreliable, difficult, or not produce a quality result. But any of them will work.
Pick the method you prefer based on your priorities and goals!
Despite its drawbacks, though, the typical recommendation is to use sulfites to stabilize your batch. It’s relatively simple and it works; it’s probably the most common method used amongst home wine- and mead-makers.


