One major question many new homebrewers have before they can get started is, “what do I need to buy first?” Unfortunately, many of the answers out there either involve fancy premade kits or try to push you towards a whole list of (largely unnecessary) higher-end equipment. But what is the bare minimum, most cost-effective choice for someone just getting into the hobby?
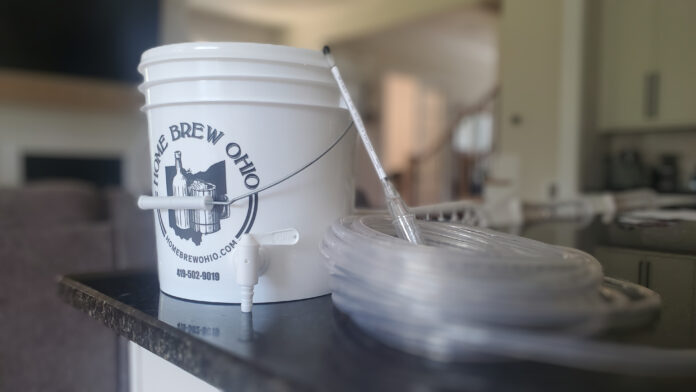
The bare minimum brewing setup for a new homebrewer to make mead or wine is: a bucket for fermentation, some silicon tubing for siphoning, bottling, and use as an airlock, and a hydrometer. An extra glass carboy is an optional, though useful, addition, and there are other quality-of-life items worth buying as well.
Getting started in mead- or wine-making is super cheap and easy.
(Compare this to beer brewing, which can require a bunch of extra equipment!)
Technically, you could go the /r/prisonhooch route and use plastic milk jugs with condoms for airlocks, but I don’t recommend that. In fact, I strongly recommend against it.
However, despite the advice you might find in many other places, you really don’t need a lot.
Most answers to this question will suggest a fancy winemaking kit, which will include a whole bunch of extra stuff (which may be useful, but not necessary for a beginner!).
If you want to buy a fancy winemaking kit, and don’t want to think too hard, you can purchase one here. However, I’d suggest you forego that and read on: you should be able to save some money with the minimalist setup described below.
Others will give you a long list of higher-end equipment – recommending the stuff they use as veterans in the hobby without realizing that most of that stuff is unnecessary for a beginner.
Yes, of course, better equipment will often result in a better end product, and if you want to just jump into the deep end and do it right from the start, that’s not a bad idea. But if you’re not even sure you’ll want to continue on with this hobby, it’s probably best to spend the least amount of money, time, and effort up-front. You can always upgrade your setup later.
Required Items for Making Mead and Wine at Home
So what’s the bare minimum?
All that you really need to make mead or wine is: a fermenting vessel, a siphon, an airlock, and a way to know when fermentation is complete.
| Equipment | Purpose | Link |
|---|---|---|
| Plastic Bucket | Fermenting Vessel |  |
| Silicon Tubing | Siphoning, Bottling, and Airlock |  |
| Hydrometer | Determining when fermentation is complete |
Fermentation Vessel: Bucket
The easiest, cheapest solution for a fermentation vessel is a simple food-grade bucket.
Even those of us who have been brewing for a long time continue to use buckets (or something very similar) for fermentation. Glass carboys seem to be commonly suggested for mead and wine, but as I mentioned in a recent article, carboys are much better-suited for bulk aging.
A bucket is much better than something with a narrow neck because, during primary fermentation, there is a high chance that the wine or mead will foam heavily, and the vessel will need a lot of extra headspace to accommodate this krausen.
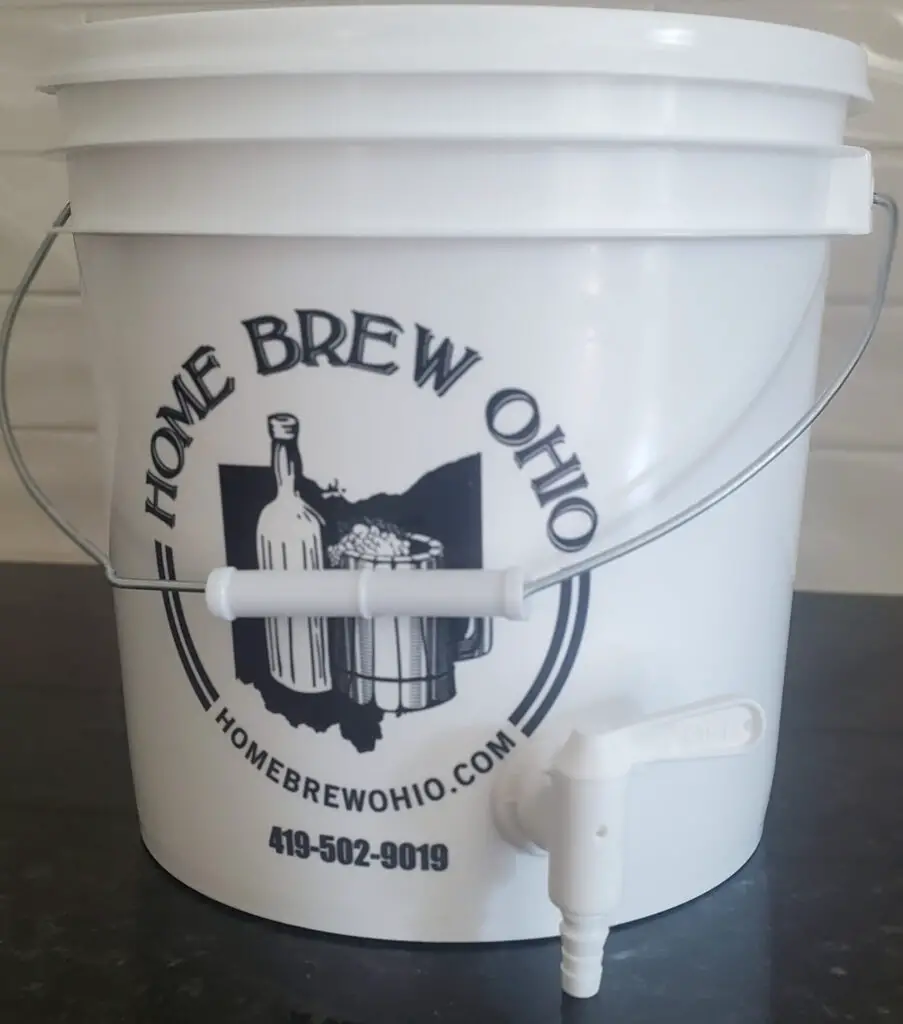
For that reason, you should buy a bucket that’s quite a bit bigger than the volume of the batch you intend to ferment.
If you’re planning on making 1-gallon batches (which is what I recommend for new brewers – it’s a lot simpler) then you should get a 2-gallon bucket.
For 5-gallon batches (the standard size in the hobby), they make both 6.5-gallon buckets and 8-gallon buckets.
Additionally, I’d strongly recommend buying a fermenting vessel with a spigot to make siphoning easier and reduce risk of both oxidation and contamination. It is entirely possible to siphon using your mouth to create suction, but (and I say this from experience) it is far, far easier to simply let gravity do the work. Plus, the human mouth harbors a ton of bacteria.
Alternatively, you can get a racking cane (listed below as an optional piece of equipment) which isn’t too expensive – but it is another item that is unnecessary for beginners, especially if your bucket has a spigot.
Siphoning & Airlock: Silicon Tubing
A bit of silicon tubing goes a long way in this hobby.
You’ll need a bit of silicon tubing for transferring the liquid and for bottling. Once primary fermentation is complete, you do not want to pour the wine or mead out of the container. This will result in oxidation and will quickly stale the batch.
Read more about preventing oxidation in this article!
Instead, every time you transfer the liquid, you’ll want to siphon it carefully, avoiding splashing as you do so.
If your bucket has a spigot, this is as easy as attaching the tube to the spigot and turning it on.
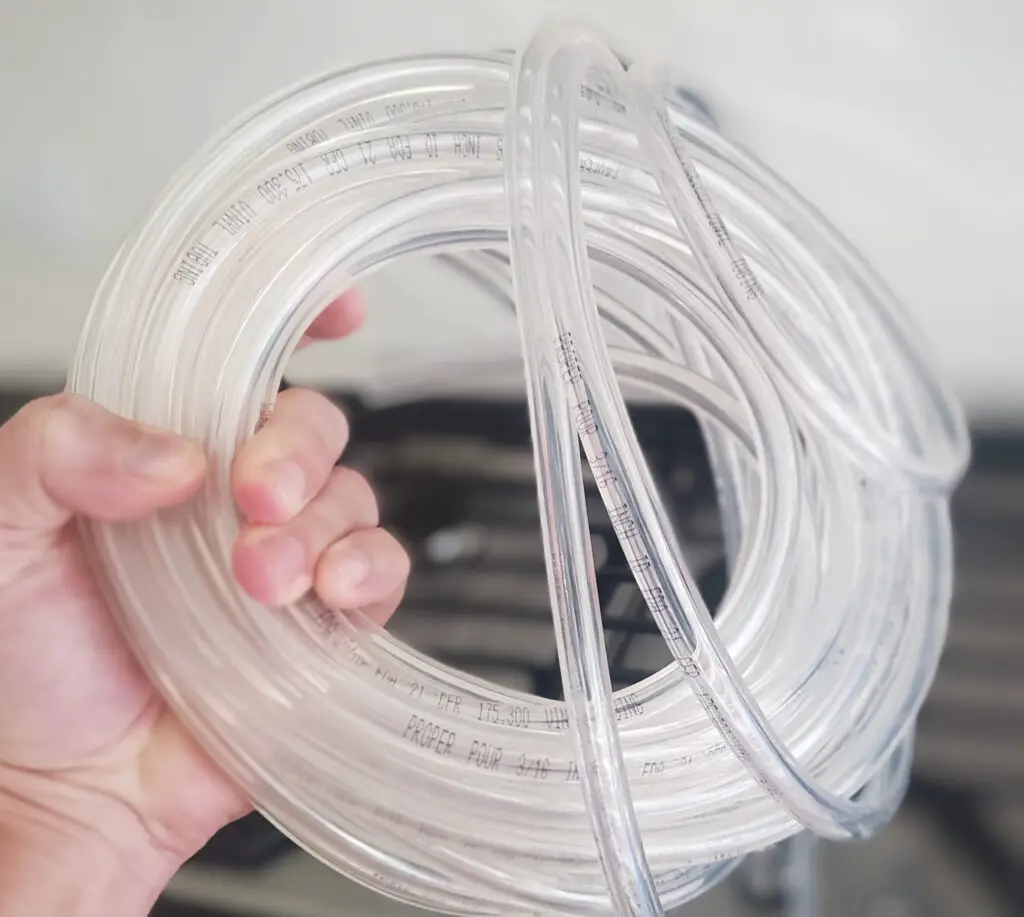
If not, you can use your mouth to get suction going (much like you’ve probably seen people siphoning gasoline from cars in movies). However, this is not only annoying to do (I know from experience), it is also unsanitary and can result in contamination of the brew.
Your mouth is full of wild yeast and bacteria.
Taking a shot of high-proof liquor just before siphoning can help mitigate that (this was my go-to back when I first got started at age 19 or 20). Additionally, a racking cane will make this much easier and safer. I’ve also listed this below as an optional purchase.
Also: a bit of silicon tubing can be the solution to more than just transferring liquid!
In this case, it can not only be used for racking and bottling – it can also replace the airlock. That’s one less piece of equipment you need to buy!
You can use it for a blowoff tube: simply place one end of the tubing into the airlock hole in your bucket (or other fermenting vessel), and run the other end into a separate container with a bit of liquid (just enough to cover the opening of the tube is fine). This works the same way as an airlock, allowing CO2 to bubble out of the tube while preventing outside air from getting through the liquid and into the container.
(By the way, I’ve got a whole article on blowoff tubes – with detailed instructions on how to make them as well as a discussion on why they’re a better option in many circumstances)
I’ve tried the balloon-as-an-airlock thing out of curiosity before (it was an actual balloon, not a condom) and it was janky. I don’t know why it’s still such a common suggestion; a bit of tubing for a blowoff tube works infinitely better, and you need the tubing for racking, anyways, so it’s not like you’re spending extra money.
Additionally, you do not need to go the extra step to purchase a separate airlock when you’re just getting started. I’ve added an airlock below as an optional expense, and if you pursue this hobby further you’ll likely find yourself buying many of them, but it’s not necessary for your first few batches.
Determining When Fermentation is Complete: Hydrometer
I feel that a hydrometer is a very important tool for any homebrewer, but particularly for new brewers.
A common question on homebrewing forums and subreddits is, “It’s been X weeks and the instructions said I could bottle now, but my batch is still bubbling. Is it done?”
Mead, wine, and even beer is not always done fermenting within a specific timeframe. It’s not even necessarily done just because it stops bubbling!
And if you bottle too early, continued fermentation will cause pressure to build up in the bottle, causing it to explode!
The only way to be truly sure that it is 100% complete is to give it enough time. If you don’t bottle the batch for a year, for example – at which point, the yeast will have flocculated and the wine or mead should be relatively clear – you can safely assume that the yeast are done.
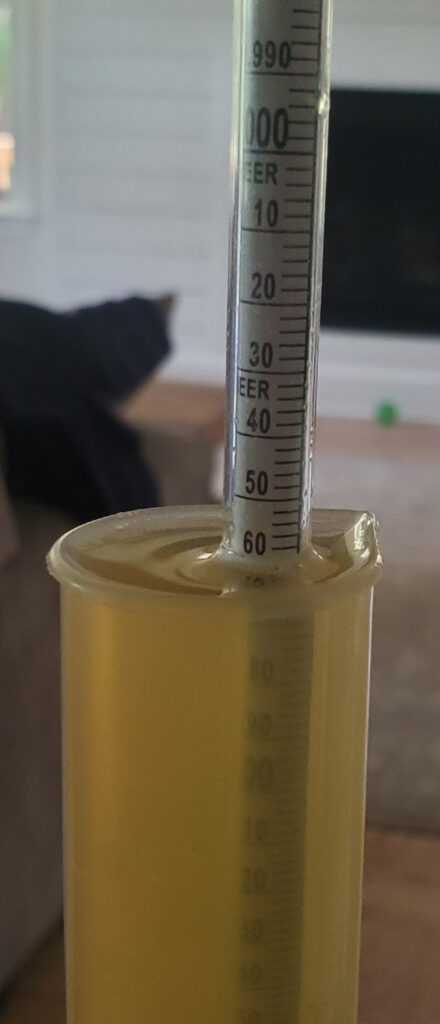
But, in lieu of waiting that long, you can simply monitor the progress with a hydrometer. For meads and wines that go dry, the fermentation will typically go under 1.000 S.G. Once you see it get to around 0.998 or 0.995, it is probably safe to bottle. Even if it drops further, to 0.992 for example, that should not be enough to cause bottle bombs: just a carbonated beverage.
If you let it sit for a week at that gravity, and it has not moved, then you have even more proof that it is safe.
The additional benefit that a hydrometer provides is that you can use the original gravity (before yeast is pitched) and the final gravity (once fermentation is complete) to calculate the batch’s alcohol content.
This is not necessary, but it is fun to know.
You can optionally purchase a flask/tube to float the hydrometer in. Most likely, you will want one eventually, but for now, it is perfectly fine to simply put the hydrometer straight into the wine or mead in your bucket.
Optional Items for Making Mead and Wine at Home
You could stop here, go out and get the above items, and start your wine- and mead-making journey right now.
But there are a few other items that are worth considering.
These items are by no means necessary to make alcohol, but they do improve the process by quite a bit. Some of them will substantially improve the quality of the end product, while others are quality-of-life purchases that, while not affecting the product itself, make the job of the brewer much more tolerable.
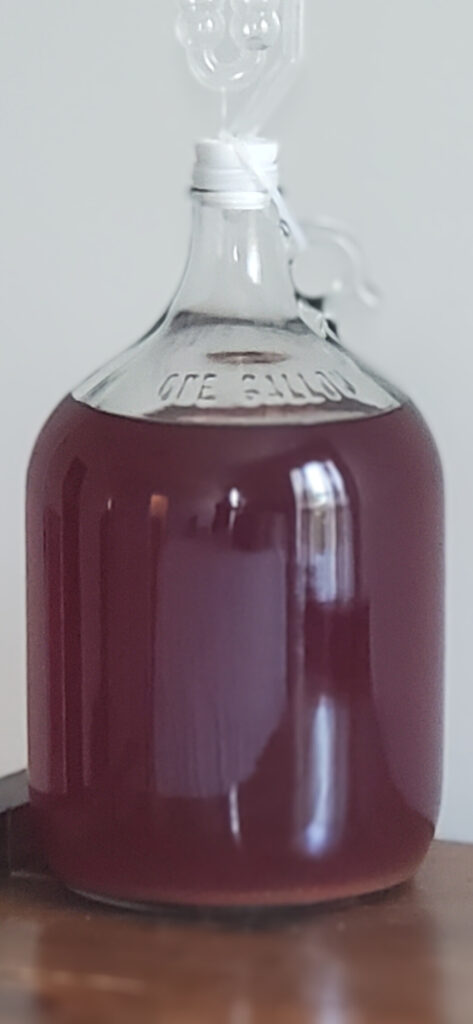
1. Glass Carboy for Bulk Aging
Your plastic bucket will do everything you need it to do.
It will handle primary fermentation just fine. In fact, it’ll handle that process better than something like a glass carboy would.
And you can bottle the batch straight from the bucket after fermentation is complete, and you will have a perfectly tasty and drinkable alcoholic beverage.
However, if you want a better product, you’ll want to age it for a while – possibly months or a full year – to let the flavors mellow, meld, and improve. At the very least, you might want to give it time for the yeast to settle out and the wine or mead to clarify before bottling.
Plastic is not a good vessel for aging, as it is slightly permeable and will let oxygen into the vessel over time, staling the batch. Additionally, the lid on a bucket doesn’t seal well enough for bulk aging, and the extra headspace inside, while useful during fermentation due to the foaming, is less than ideal for the wine or mead once fermentation is complete.
If you want to age your brew for a period of time after fermentation, you’ll want to invest in a glass carboy.
Click here to purchase a 1 gallon glass carboy on Amazon
2. Racking Cane for Simpler, More Sanitary Liquid Transfers
I think I’ve already explained the value of a racking cane.
For a long time, when I first got started, I did not use a racking cane. It seemed like such an unnecessary purchase when I could get a siphon transfer going without one.
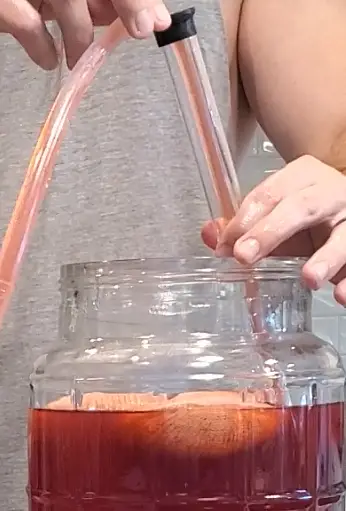
And then, I tried it once with a racking cane…. And I’ll never go back to using my mouth. It’s infinitely simpler and more sanitary.
Plus, they’re not even that expensive.
If you opt to use any vessels that do not have spigots (including a glass carboy for aging), I would strongly suggest purchasing a racking cane as well. It’s not necessary, but it makes brewing much, much easier.
Alternatively, just use vessels that have spigots.
Click here to purchase a racking cane on Amazon
3. Bottling Wand: Reduce the Mess When Bottling!
This is technically not necessary.
But it’s pretty damn close.
I have bottled without a bottling wand before, and it is a nightmare. Yes, you can crimp the tube to stop the flow of liquid as you move it between bottles, but you need to be really good at that to do so without making an absolute mess of your kitchen.
Fortunately, I was not married back then; I think my wife would kill me if I tried that now. She’s already pretty dissatisfied with the regular messes I make while brewing.
A bottling wand is a cheap tool that will completely solve this problem. Yeah, you can still make a bit of a mess if you overfill the bottle, but after the first few attempts, you’ll get the hang of it and probably never overfill a bottle again.
Click here to purchase a bottling wand on Amazon
3. Airlock
A blowoff tube is a perfectly acceptable airlock solution.
In fact, I still use blowoff tubes quite often to this day. They’re really nice for vigorous fermentations that would otherwise foam up and out of a standard airlock – they avoid messes!
But a standard airlock is much more compact. It’s particularly nice if you ever need to move the fermenting vessel around – it’s much easier to pick up just the vessel instead of trying to maneuver the vessel AND the separate container, all while trying to keep the tube in place under the liquid so that it doesn’t expose the wine or mead to air.
Typically, I’ll kick off primary fermentation with a blowoff tube and then switch to an airlock once the krausen starts dying down.
You’ll probably eventually want to have airlocks around if you pursue this hobby further, but it’s not necessary to get started.
Click here to purchase airlocks on Amazon
4. Hop Bags to Contain Fruit, Spices, and Other Additions
There’s nothing wrong with just dumping fruit (and other additions) straight into the bucket during primary fermentation.
Your yeast will ferment the fruit just fine like this, and any spices or other additions will steep in the liquid.
But using a muslin bag or cheesecloth (often marketed as a “hop bag”) to contain the solids will make it so much easier to remove the solid bits later on.
Not to mention trying to siphon the liquid without getting the tube clogged.
I once brewed a raspberry mead that gave me such a problem because I just dumped several pounds of raspberries straight into the fermenter.
If you’ve never brewed with raspberries… well, they just turn into a thick, white mush after a few days of fermentation. And they don’t really ever settle out of the liquid.
It becomes almost impossible to rack them without some sort of filtration involved. I tried a bunch of different things with this batch, before ultimately just pouring from one vessel to the next through a fine mesh strainer.
It was not good for the mead – but it was the only way!
The batch did end up being tasty in spite of me doing this – but it was definitely a bit oxidized.
Since then, I always put any fruit or other solids into a hop bag before adding them to a batch of wine, mead, or even beer.
Click here to purchase hop bags on Amazon
Conclusion
You don’t need a fancy winemaking kit or a bunch of expensive, high-end equipment to simply brew up your first batch of mead or wine.
All you really need is a bucket, some cheap tubing, and a hydrometer.

