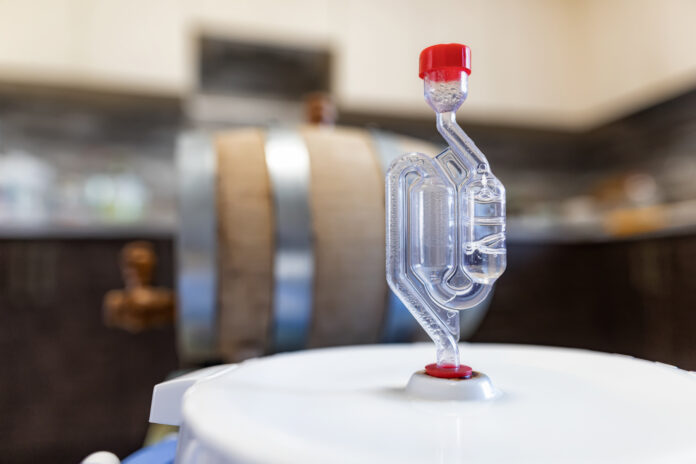
So you made your wort or must, pitched your yeast, and… nothing. You haven’t seen any sign of activity in the airlock or, if you have a glass fermenter, even the vessel yet. What is happening? Did you do something wrong? Are you NOT going to have alcohol?!
The answer is…. You’re probably fine. But we’ve all been there! This is one of the most common questions amongst new brewers.
Even if you’re not seeing visible signs of fermentation after pitching yeast, such as bubbling in the airlock, it doesn’t necessarily mean nothing is happening. In most cases, fermentation will finish and you will have alcohol. Real issues that need attention are rare, and the batch being compromised is even rarer.
While airlock activity is a clear sign that fermentation is happening, the inverse is not always true: just because there’s no activity does not mean fermentation is not happening (or will not happen).
When in doubt, just take a hydrometer reading – that’s the only way to truly be sure of what’s going on inside the fermenting vessel. If your gravity is going down, then you’re definitely producing alcohol, and there’s probably nothing to worry about.
If you don’t yet have a hydrometer, click here for a cheap one!
There are a few very common reasons why you might not be seeing airlock activity, and only a couple of them require your attention.
First, we’ll go over the major issues – the rare causes that might actually be legitimate problems to worry about.
Then, we’ll step through some of the most common reasons why you might not be seeing activity, what it means, and what you can learn from it. Hint: the answer is usually to just be patient!
No Fermentation Activity: Two Causes That Might Be Legitimate Problems
If you’re not seeing any visible signs of activity in your airlock even after some time has passed, there are two possible reasons that might actually be legitimate issues.
Interestingly enough, in both cases, it’s not that there’s a lack of fermentation – in fact, it’s because fermentation happened so fast that it’s completed already!
The two possible cases could be that the mash had poor efficiency – this only applies to beer – or that the batch was contaminated.
Under normal conditions, either of these situations are extremely rare. Furthermore, the good news is that you most likely still have alcohol, even if it’s not at all the way you intended!
Problem #1: Your Mash Had Poor Efficiency
When producing beer using the all-grain method of brewing, you need to mash the grains. What this really amounts to is basically steeping them in water within a specific temperature range for a long enough period of time.
If, during the attempted mash, you missed your target temperature, and instead “mashed” at a temperature outside of the range, you may not have converted enough of the starch to fermentable sugar.
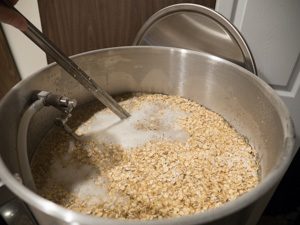
Note that this could only happen if you were brewing beer – and more specifically, using the all-grain method. If you were brewing with extract, or alternatively making mead or wine, there would be no mashing step on brew day, and this problem wouldn’t apply.
How to Tell: First, make sure that your fermentation has actually stopped. Take a gravity reading now, and another in about a week – if the gravity hasn’t moved, then you’re probably safe to assume the yeast are done.
Now you can use that gravity reading as the F.G., along with the O.G., to determine your alcohol %. If your alcohol % is ridiculously low, then you might have had an inefficient mash.
Make sure that you didn’t accidentally kill your yeast (Cause #7: Too Hot Temperatures Will KILL the Yeast!). If your brew is still sitting at a higher gravity than your expected F.G. then you can try to pitch more yeast to see if they will complete the job.
Why It Might Have Happened: There are a couple of reasons why your mash may have missed its target temperature, and it might be simply due to your equipment.
You might have thought that you were within the correct temperature range the entire time even when you were not if your thermometer was not calibrated correctly.
Alternatively, if you did not use some sort of temperature controlled heating element (such as in the Clawhammer Supply brewing setup, or a sous vide) and instead chose to insulate the mash tun after reaching mash temperature, you may not have insulated it completely and lost too much heat over the course of the mash.
If you were within the range for a short time, you may have had some starch conversion, but not necessarily enough to produce the beer you were hoping for.
The Lesson: Pay attention to your mash! Make sure that your equipment is reliable and calibrated, and watch it closely over the course of the mash to ensure that you’re staying within your mash temperature range.
Problem #2: Your Batch Was Contaminated
Wild yeast and bacteria, under the right conditions, can absolutely tear through a wort or must.
This means that, even with a higher-gravity wort or must, the contaminant can chew up all of the sugars and ferment the batch dry in a very short time. If you finished up the fermentation late, went to bed, and didn’t check again until the next day – waiting 12 to 24 hours to check back on your brew – you may have missed all of the excitement.
Wild yeast and bacteria aren’t going to hurt you. In fact, wild fermentation is a thing – brewers do wild ferments or specifically pitch Brettanomyces strains and bacteria to produce funky or sour brews.
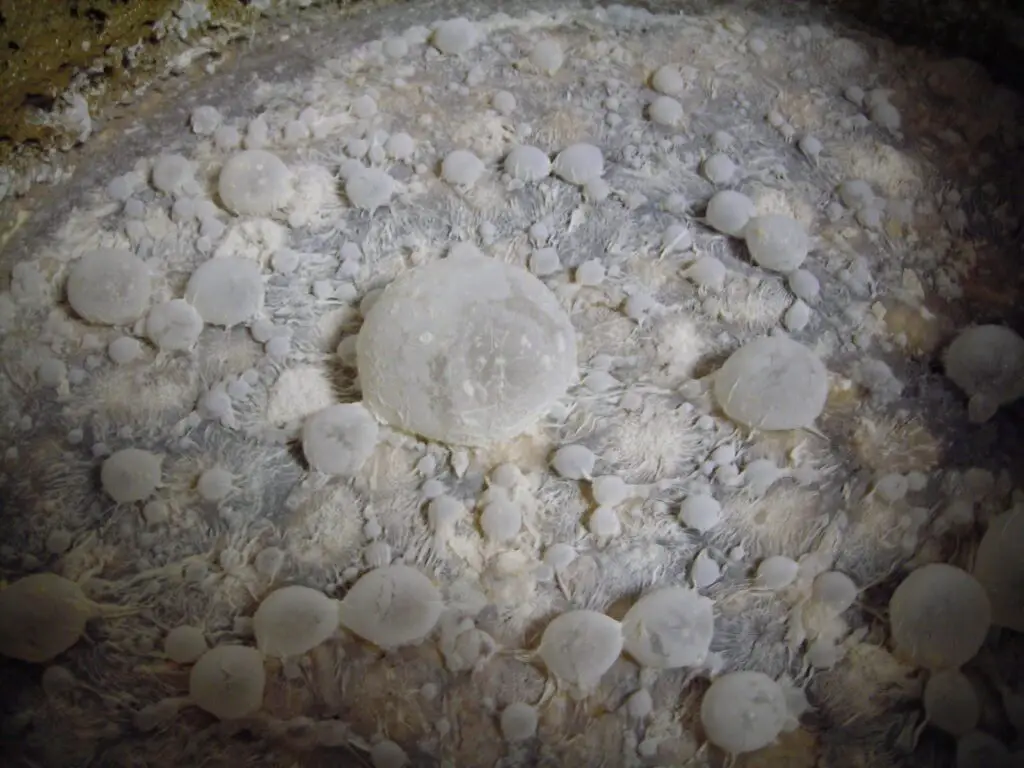
However, if it was not deliberate, it may not be desirable. It is up to you to decide if you feel comfortable enough to try it, and if you like it, keep it! Otherwise, there’s no harm in dumping it and chalking it up to a lesson learned.
Assuming you made a decent attempt at sanitation, contamination is fairly unlikely. It’s actually pretty rare in homebrewing – in fact, some brewers try to contaminate their batch to deliberately do a wild fermentation and are unable to catch something!
Do note that there are some high-attenuating super-yeast strains that do this as well – Kveik being one of the more popular ones these days. If you picked one of those strains for this batch and it finished the most aggressive phase of fermentation already…. Well, that’s probably what was supposed to happen. But more on that later in this article (Cause #4: High Attenuating Yeast May Have Already Finished).
How to Tell: Open up the lid and take a look! Signs of contamination are very obvious – as we’ll discuss in more detail in a future article.
Look for a thick, white pellicle across the top – this is the sign that wild yeast or bacteria got into your batch.
If the layer on top is very fluffy, or if it is black or green, then it’s mold – this is bad, and harmful, and you should dump it.
Of course, if you cannot tell the difference, and you think it might be mold – it’s better to be safe than sorry, and you shouldn’t feel bad about dumping it.
What Might Have Happened: Obviously, there was a sanitation lapse somewhere.
Something that the wort or must touched was, at some point after being boiled, unsanitized – and that thing had wild yeast or bacteria on it.
The Lesson: Be rigorous with your sanitation! Again, everything that touches the brew must be cleaned completely and sanitized.
No Fermentation Activity: 7 Causes That Mean You’re Probably Fine
Most of the time, when you are not seeing visible signs of fermentation, it’s fine!
We’ve already discussed the rare instances when no signs of fermentation might be an actual issue. The rest of the time, it’s not really something to worry about. In fact, even when you can’t see the signs, it almost always either has already finished fermenting, is fermenting right now (just not visibly), or just has not started fermenting yet.
In nearly all cases, all you need to do is be patient. Your beer, mead, or wine will be just fine.
Cause #1: Your Fermenting Vessel Is Not Sealed Completely
Sometimes, in a hurry, you simply might not have closed the fermenting vessel completely. This is particularly common when fermenting in big plastic buckets (the lids are notorious for being difficult to seal completely) but it can also happen in carboys and other vessels that use bungs.
If your vessel isn’t sealed completely, the CO2 and other fermenting gasses that cause bubbling might be escaping through the path of least resistance – the gap in the lid or bung – rather than through the airlock.
This is not a problem at all while fermentation is still going on, and will have no impact on your beer, mead, or wine in the end. The gasses and other products of fermentation will provide a blanket of protection on top of the liquid, preventing oxygen and contaminants from getting in. Just make sure not to leave it unsealed through long conditioning phases, or that protective blanket will dissipate and leave your beer, mead or wine exposed!
How to Tell: Just double check the seal. Push it down onto the vessel tighter to be sure it’s really sealed.
You can always open up the vessel to take a look and see if there’s signs of activity within the vessel, although be aware that this creates a chance for oxidation and contamination.
As always, if in doubt, take a gravity reading – if the gravity is going down, fermentation is happening, and you are producing alcohol.
What Might Have Happened: The vessel didn’t get sealed completely.
The Lesson: Nothing really. Just make sure your vessels are sealed tightly in the future.
Cause #2: Your Vessel Has More Headspace Than Usual
Certain parts of brewing can be imprecise, and not all fermenting vessels are equal. Often, you end up with less wort or must after boiling due to evaporation, and unfortunately, there are not a lot of options for in-between fermenter sizes (like a ¾ gallon carboy…)
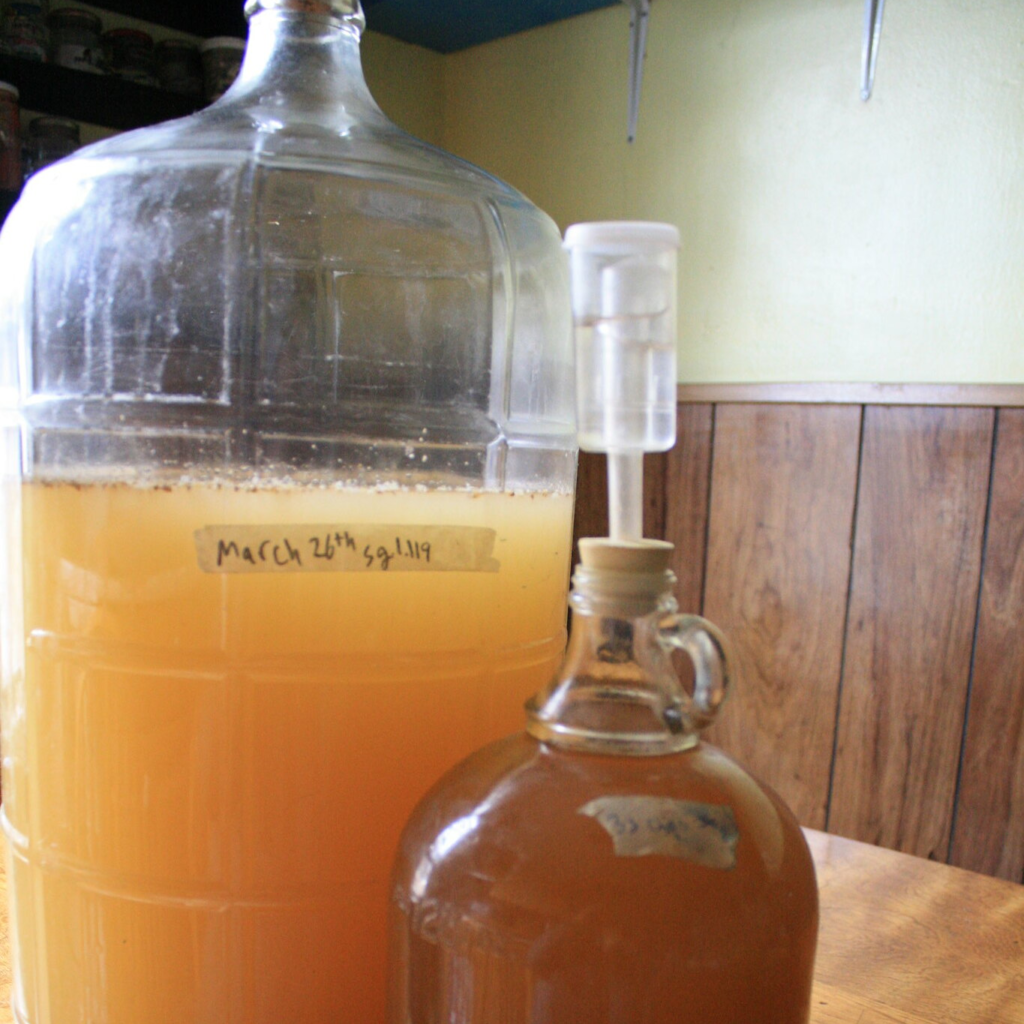
During aggressive fermentation, this is really a non-issue. Fermenting gasses (and krausen when brewing beer) will readily fill up the headspace and protect the liquid. In fact, headspace is desirable, because it gives these gasses somewhere to go and prevents pressure from building up.
But what that means is that, even though fermentation might be happening, it may take longer than usual for the headspace to fill up and begin leaking gasses out through the airlock. It’s still happening, you just won’t see the bubbling until later on.
Do be aware that more headspace in the vessel is less desirable when conditioning in secondary fermentation vessels – when you rack the beer, mead or wine into the new vessel, the protective blanket of gasses is left behind and your liquid has a chance to become oxidized by the O2 in the new headspace.
That’s why I prefer to start with larger vessels with more headspace during primary fermentation, and rack into increasingly smaller vessels with each new conditioning phase as much as possible.
Alternatively, if you have the means to do so, you can fill the headspace with CO2 via force carbonation to protect the batch.
How to Tell: You did not have enough wort or must to fill the fermenting vessel before pitching the yeast. It’s not an issue, just be aware that it will take longer to show visible signs of fermentation in the airlock, despite fermentation actually happening as usual.
What Might Have Happened: When boiling the wort or must, you lost more than you expected to evaporation. Alternatively, you may not have measured your water additions correctly.
You can always add more (clean) water to the vessel to top it off before fermentation begins, but be aware that this will dilute the brew, reduce the O.G., and ultimately produce a lower alcohol beverage.
The Lesson: Your beer, mead or wine is fine. The only possible lesson might be to measure more carefully in the future and try to produce the correct amount of wort or must for the headspace…. But honestly it’s not necessary, as this isn’t a huge problem.
It will not affect the final product.
Cause #3: This Batch Might Have a Longer Lag Phase
Not every fermentation is equal. Even if you use the same recipe as last time, variances in the situation (from temperature to even different packets of the same yeast) can change what happens during fermentation.
Sometimes, it just takes the yeast longer to get started. This can happen for a number of reasons. Most of the time, it’s a complete non-issue: you just need to be patient and wait for fermentation to begin.
How to Tell: Give it time. If a few more days pass and you still do not see signs of fermentation, take a gravity reading. If gravity is going down, fermentation is happening and you are producing alcohol.
What Might Have Happened: There are a few reasons why a fermentation might have a longer lag phase than usual.
Colder temperatures, particularly when using lager yeasts, result in slower fermentation – which often means the yeast takes longer to get started. More on that below (Cause #5: Colder Temperatures Slow the Yeast Down)
Another (avoidable) cause of a longer lag phase can be when the yeast gets shocked.
If the yeast was pitched when the wort or must was still at a higher-than-normal temperature, and then it was cooled down to a much lower temperature for fermentation, the yeast can get stressed by this change and sort of freeze up. They will get over it eventually and begin fermentation, but this can cause them to become stressed and produce off-flavors.
Additionally, if the brewer underpitched the yeast – meaning that he or she did not pitch enough yeast for the job – the yeast can become shocked by the gravity of the wort or must. This is common with high-gravity batches, which often need more yeast or a longer yeast starter than normal. This, too, can cause the yeast to become stressed and produce off-flavors.
The Lesson: Try to give the yeast the best environment that you can to encourage them to brew the beer, mead or wine that you are hoping for.
This often means being patient with the starter, being willing to use more yeast for higher-gravity batches (despite it costing more), or being more conscious of managing your fermentation temperatures.
However, even if the yeast was shocked, your batch should be fine. They will get over it and start fermenting the liquid soon – it might just take longer than normal. The downside is that stressing the yeast can cause them to produce off-flavors (although this may be your intention for certain batches, and is desirable in some beers, meads, and wines).
Cause #4: High Attenuating Yeast May Have Already Finished
When you select a high-attenuating super-yeast strain like Kveik, you’re expecting it to ferment clean, and you’re hoping it completes the entire process in a matter of days.
However, what this also means is that the fermentation can kick off quickly, it can ferment aggressively, and the most active part of the fermentation can be done shortly.
If you haven’t checked on your fermentation in 12 to 24 hours, you might have missed the activity entirely! This is especially true at higher temperatures, as it is with all yeast – which we’ll discuss below (Cause #6: Hotter Temperatures Speed the Yeast Up).
How to Tell: You probably know if you pitched a high-attenuating yeast like Kveik. Most likely you picked the strain primarily for these attributes.
If you’re not sure whether the yeast you picked up is an aggressive, high-attenuating yeast, you can simply look up the yeast on the manufacturer’s website. The description of the strain will usually tell you.
What Might Have Happened: Nothing outrageous. The yeast you selected is just doing what it’s known for.
You shouldn’t have any issues – in fact, you might be pleasantly surprised that the exact beer you were hoping to brew is ready to drink far earlier than you had hoped.
The Lesson: Nothing, I guess, except you’ve learned what to expect from these super-yeast strains!
Cause #5: Colder Temperatures Slow the Yeast Down
Every yeast strain has a preferred temperature range. Ale yeasts, and most wine yeasts, usually prefer slightly higher temperatures, usually around room temperature, something like 62° to 75° F. Lager yeasts tend to prefer cooler temperatures, often in a range where temperature control is necessary, such as 48° to 55° F. Some yeasts work outside this range – most famously, Kveik prefers very high temperatures, from 70° all the way into the 90s and even above 100° F!
When you let the yeast ferment at a temperature near the lower end of their working range, they tend to slow down. The fermentation takes longer – and this means that every step takes longer. Furthermore, fermentation activity is slower and more subdued.
What this means is that, at colder fermentation temperatures, you might not see visible signs of activity even though it’s happening. There is a longer lag phase, so you might be expecting something when it hasn’t quite happened yet (see above: Cause #3: The Batch Might Have a Longer Lag Phase), and then once it does begin to work, it’s not fermenting as aggressively as you might be used to seeing from higher, uncontrolled temperatures: you might not even see anything but the occasional bubble if you’re not watching closely!
Lager yeasts in particular are known for behaving like this, in large part because of their colder preferred temperature range.
In fact, this might be desirable behavior! You probably chose to keep the fermentation under temperature control, because the slower, less aggressive fermentation is easier on the yeast. They won’t get stressed and produce off-flavors, and you’ll end up with a clean, crisp, refreshing brew in the end.
How to Tell: Check the temperature of the fermentation vessel. You can measure the temperature of the container that it’s in (such as a chest freezer or even the room that the vessel is sitting in) or you can directly measure the temperature of the liquid.
Just be sure that it is actually in the yeast’s preferred range. If the temperature drops below what the yeast prefers, they can flocculate out of suspension, fall to the bottom of the vessel, and go to sleep – stopping the fermentation entirely!
If you measure the temperature and determine this has happened – that you’ve cooled it down too much and put them to sleep – simply bump the temperature back up into their preferred range. It may take a bit of time, but they will eventually wake back up and get back to work. You can also optionally swirl the vessel to mix them back into suspension, which should speed up the process, although it’s not really necessary.
What Might Have Happened: The temperature was low, resulting in a slower, less aggressive fermentation.
As long as the temperature is still within the range that yeast are happy to work in, you should still have fermentation occur – it just might take a while, and show no visible signs. However, you should end up with a clean brew, free of yeasty off-flavors.
Check your temperature with a thermometer to ensure that the temperature is fine, and as always, take a gravity reading to see if something is happening. If gravity is going down, then you’re producing alcohol!
The Lesson: This is how yeast behave at lower temperatures. If you want fermentation to happen faster or be more visibly aggressive, you could raise the temperature to spur the yeast on… but beware that this can also stress them out, resulting in more esters and other yeast flavors in the brew. This may or may not be desirable, depending on your intended goal with this batch.
Cause #6: Hotter Temperatures Speed the Yeast Up
Just as colder fermentation temperatures cause slower, more subdued fermentations, raising the temperature on the yeast causes them to ferment faster and more aggressively. This can also potentially stress them, causing yeasty flavors that may or may not be desired for what you’re trying to brew.
If you raise the temperature too much and attempt a very fast, very aggressive fermentation, then it can actually get started quickly and ferment fast. It won’t be clean, but you can potentially push a yeast to finish a fermentation with regular ale or wine yeasts almost as fast as a Kveik strain.
This means it is possible that, by the time you check in on your fermentation, the most active phase of it might be completed. You may have missed all of the visible activity!
How to Tell: You may or may not have intentionally pushed the yeast with a higher fermentation temperature. Sometimes a brewer wants to ferment at a higher temperature to chase those yeast-produced flavors, while sometimes it’s an accident resulting from lack of temperature control.
Check the temperature of your fermentation, either by checking the container (such as a chest freezer or even the room that the vessel is sitting in) or you can directly measure the temperature of the liquid.
As long as the temperature is within the yeast’s preferred range, you will have alcohol, it might just have off-flavors. When in doubt, take a gravity reading. If gravity is going down, then fermentation is occurring (or, possibly, already has occurred).
Just make sure you didn’t raise the temperature too much and kill the yeast! More on that in the next section (Cause #7: Too Hot Temperatures KILL the Yeast!)
What Might Have Happened: As stated above, this might have been intentional or it might have been an accident.
If you are leaving your fermenting vessels out in your home to ferment at room temperature (as we all do until we can afford some sort of fermentation temperature control measures…) it is possible that your room simply got too hot. This can often happen in warmer climates (such as the south, where I’m from – I’ve had plenty of hot fermentations!).
If you’re not temperature controlling your fermentations, just be aware that this can happen – and may continue to happen until you can get the equipment to do so.
The Lesson: This is what happens with hot and fast fermentations, whether you’re purposely pushing the yeast or you’re simply unable to otherwise control the fermentation temperature.
The good news is that, as long as the temperature didn’t get too hot, you will still have alcohol – in fact, you may have it even faster than you expected! It will just have extra esters and other flavors from the yeast, which may or may not have been what you wanted.
Cause #7: Too Hot Temperatures KILL the Yeast!
Beware, if you let the temperature get too hot inside the fermenting vessel, you can actually KILL all of your yeast!
Different yeast strains have different temperature ranges that they work best at, but most brewer’s yeast strains can start to die off at 90° F, and will die more rapidly above 100° F. You probably won’t encounter this under reasonable conditions, but above 120° F you can assume that your entire yeast culture is dead.
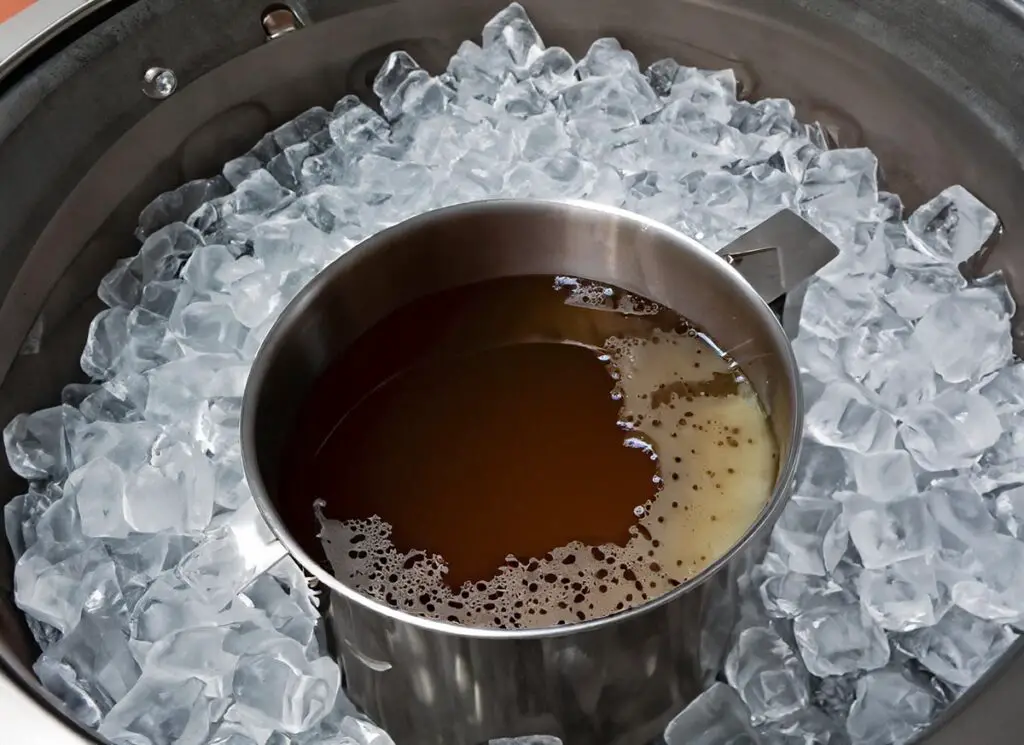
Higher alcohol content brews such as imperial beers, meads, and wines can amplify this process, causing the yeast to die faster even at the lower-end of these temperatures.
Of course, Kveik can survive – and even thrive – in these higher temperatures, and lager yeast wants a colder fermentation and will start to die at temperatures as low as 80° F.
If you determine that your yeast is dead and your fermentation has stopped – or not even started – then you will actually need to remedy the situation.
But don’t worry! Your brew is perfectly fine. You just need to pitch more yeast to replace the ones that died. As long as the temperature in the fermentation remains low enough for the yeast to survive, you will have a perfectly fine fermentation and end up with alcohol, just as planned.
How to Tell: Checking your temperature can tell you if your brew is too hot. Compare the temperature of the liquid to what the manufacturer says the yeast can survive in on the packaging (or their website).
However, if the temperature was too hot at one point but has since cooled down, this won’t tell you much. However, you can take gravity readings over the course of a few days to determine if fermentation is happening – if the gravity is not going lower, then fermentation has stopped. If you have not yet hit your target F.G. then something is wrong.
Just seeing that the fermentation has stalled or stopped doesn’t necessarily tell you that it was due to the temperature being too hot and killing all of the yeast… but there’s also usually no harm in simply pitching more yeast to be sure.
The only reason you would not want to do this is if you already pitched a lot of yeast and you’re at risk of overpitching. However, overpitching is very unlikely – it takes a massive amount of yeast to overpitch in a way that has negative effects on the brew.
What Might Have Happened: Your brew got too hot. This can happen for a number of reasons.
If you are not using temperature controlled fermentation (or your temperature controller stopped working) then your brew is subject to the temperature of the room it is in. In warmer climates, this can be an issue – but usually, it won’t be enough to kill the yeast.
However, if you do not have A/C in your home, or you keep your fermenting brews outside in something like a garage or shed, you can have serious problems. A single 90° F day can kill all of the yeast in a fermentation.
Alternatively, you might have temperature control, or otherwise are sure you’ve kept your fermentation in a safe range. However, if you were impatient on brew day and pitched your yeast too early, before the liquid cooled down into a safe range, you may have simply killed them all instantly before the fermentation even began.
The Lesson: Be careful with the temperatures your yeast are exposed to!
Personally, I am careful with how I store my ingredients in the garage. I live in the south, and it gets very hot in the summer. Even though the garage is attached to the house, it does not have A/C, and is still subject to the weather far more than the interior of the house.
If you’re interested in more discussion on the subject, check out this article on how best to store your grain, even in hot climates!
If you cannot use temperature control, you should at least keep your fermentations inside, in a location in your home where the A/C is functional and the room remains a stable temperature within the yeast’s preferred range.
Alternatively, you can simply use Kveik strains, which are happy to ferment even at 100° F.
Additionally, be patient, careful, and precise on brew day. When chilling your wort or must, be sure that it cools down all of the way! You should not be looking to pitch your yeast as soon as you can, anyways. Not only will pitching yeast too hot potentially kill them and stop your fermentation entirely, it’s far better for them that you cool the brew down below the temperature you plan to ferment at before you pitch the yeast. That way, they don’t become stressed.
Conclusion
Lack of visible airlock activity does NOT mean that your brew is ruined! While a bubbling airlock is surely a sign of fermentation, no bubbling in your airlock does not necessarily mean anything at all.
In fact, in the vast majority of cases, the causes of this lack of visible fermentation activity are not really that bad. Sometimes, it’s even a result of some desirable behavior based on your yeast selection or the environment you’ve chosen to impose on the yeast!
Whatever the case, in all but the rarest of cases, you’re going to have something drinkable in the end.
The key is to be patient. Sit back, relax, and have a homebrew.

