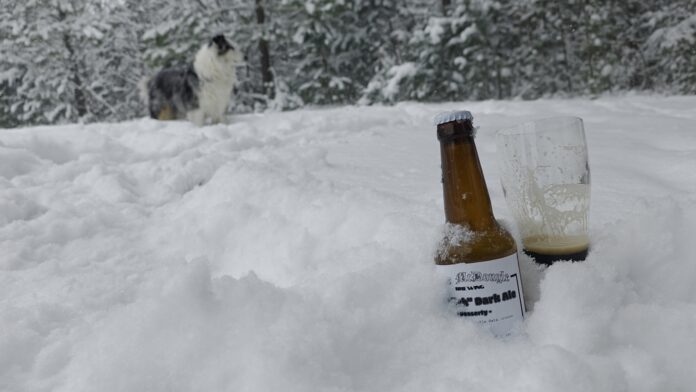
When wintertime hits, and it gets frigid cold, I always like to have a rich, dark, malty beer on tap to get me through it. Last year, I made that Schwarzbier – and it was delicious. But this year, I think I really knocked it out of the park. This “English” (it’s not quite English) dark ale was so good that I think it’s going to become a staple in my rotation – and I think you should try it out, too.
This was originally supposed to be an English beer – I’ve never actually done one before, and I was super excited to try. Recipe-building went a little off the rails, though, and it ended up being more of, like, an English-adjacent pastry stout.
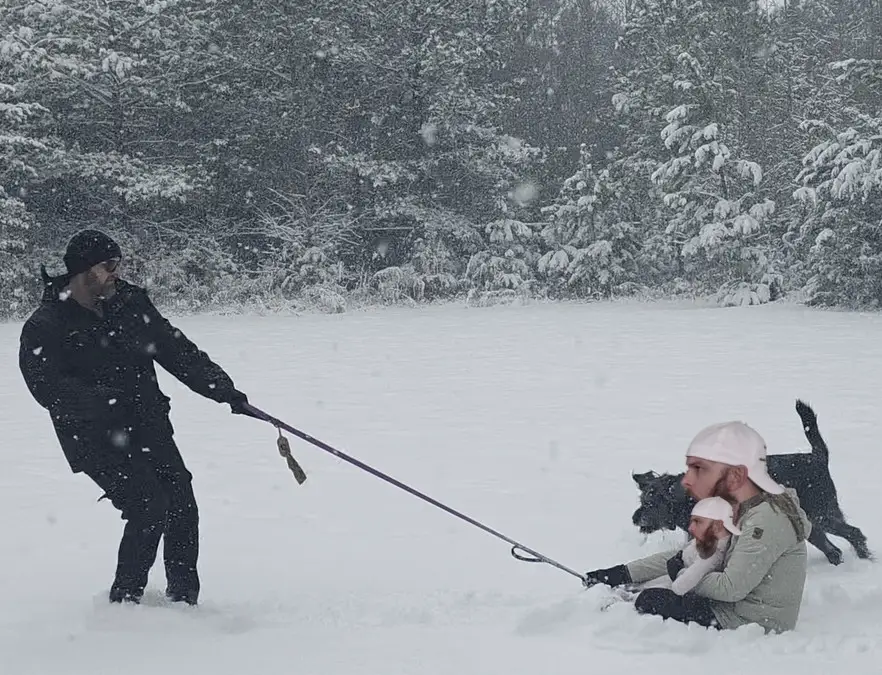
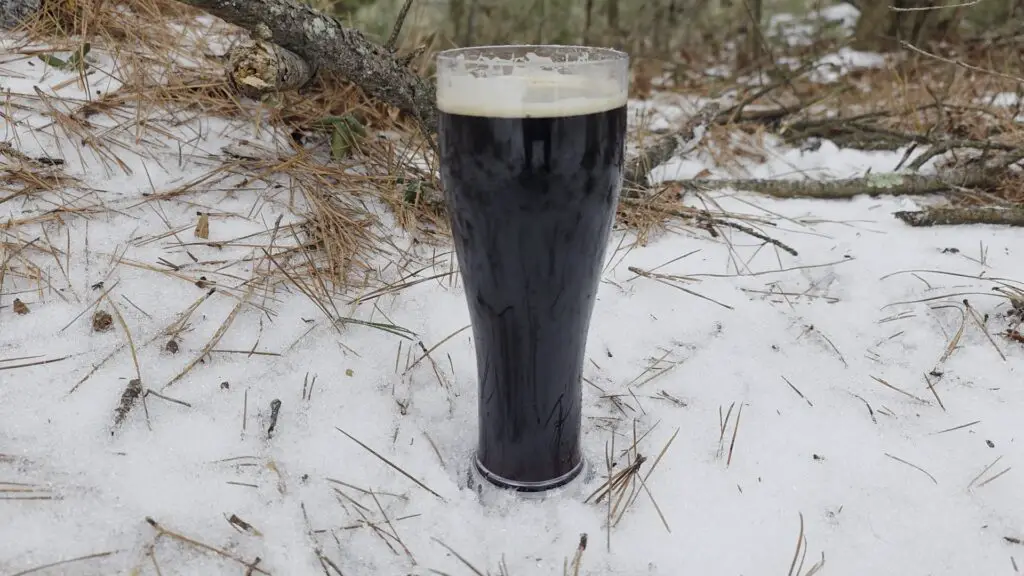
But when we got hit with probably the biggest winter storm I’ve ever seen in the south this winter, it was the perfect thing to enjoy while I played with my wife, daughter, and our dogs in over a foot of snow!
I used TheApartmentBrewer’s dark mild recipe that he put out a few months ago as the basis for this recipe, but I altered it quite a bit to fit what I was trying to do. I tend not to confine myself to the rules and parameters of styles, and just brew the beer I wanna brew.
The recipe ended up being centered around the figgy, raisin-y flavor of Special B malt, with Mangrove Jack’s M15 yeast being used to complement those flavors with its dried fruit esters, and a touch of chocolate malt to round it out and give it this sort of desserty fig pudding flavor.
I made two batches, one with oats and one without, and the one with oats turned out to be way more desserty – rich, decadent, and creamy, almost like a milk stout or a nitro stout (despite having neither of those additions) – while the one without oats was much more sessionable and beer-like (still sweet, though).
If you want to know more about how I came up with this recipe and how it turned out, check out the video embedded above, where I go way more in-depth.
But to summarize: both versions are sweet (without being too sweet), figgy, chocolatey, and delicious, and I strongly recommend you try it yourself.
Ingredients
All ingredients in this article are for a 3 gallon batch, because that’s what I brewed (for both batches).
You can adjust for whatever batch size you prefer.
Grain Bill
| Amount | Ingredient |
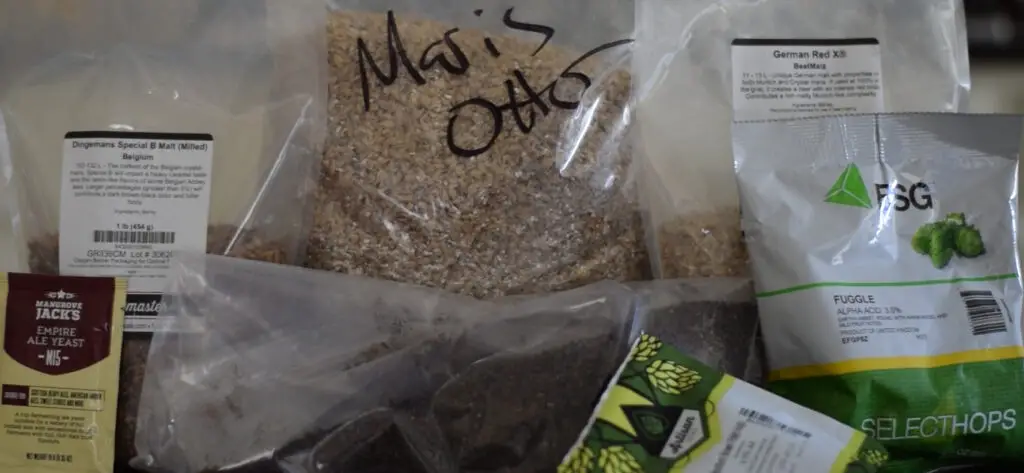
| 67% (5lb*) | Maris Otter |
| 13% (1lb*) | Red X |
| 8% (10oz*) | Special B |
| 7% (8oz*) | Chocolate Malt |
| 5% (6oz*) | Flaked Oats (optional) |
Given that this was originally meant to be an English beer, it had to start with a base malt of Maris Otter.
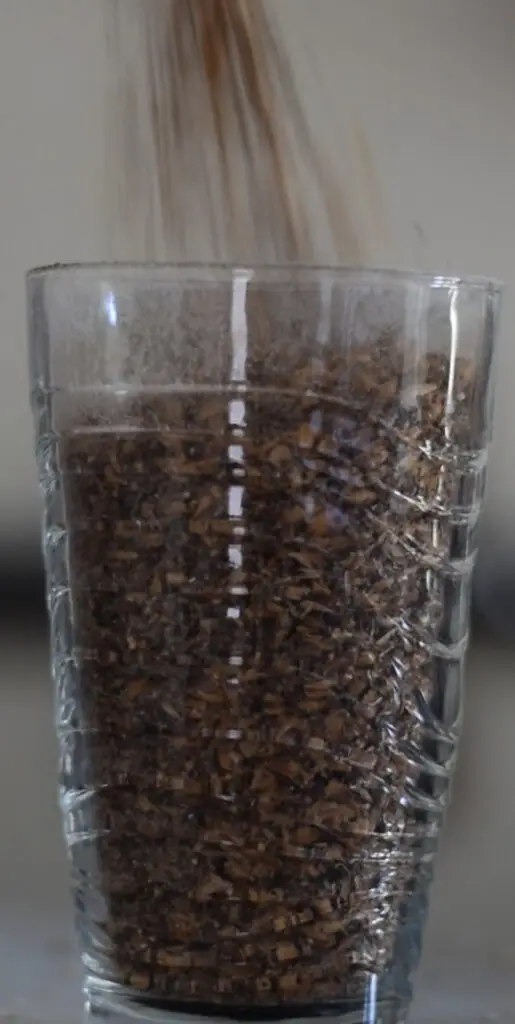
In the recipe that this one was based on, TheApartmentBrewer suggests the accent malt to be Admiral Kilnsmith, though he says that it can be replaced with Red-X. I could not get my hands on Admiral Kilnsmith, so Red-X it was! I think Biscuit malt could also work well in this recipe, although it might be a bit different.
Of course, Special B was the star of this recipe. At 8% to 9%, I went a little heavier than is typically recommended, but I think it really works in this beer – likely because I designed the rest of the recipe to make it work.
Chocolate malt pairs well with the Special B, giving it a bit of a chocolatey, roasty flavor to go with the dried fruit.
And of course, you can choose to add – or not add – some oats. I just used Costco brand oatmeal from my pantry. The oats will add a creaminess and a density that really kicks that desserty character up a whole notch.
Hops
| Time | Amount | Ingredient |
| 60 minutes | 23 IBUs (17g*) | Northern Brewer |
| 20 minutes | 10 IBUs (17g*) | Fuggle |
| 5 minutes | 3 IBUs (17g*) | Fuggle |
| Total IBU: | 36 |
36 IBUs might seem a bit high, but it works with this recipe.
There’s so much going on in this beer (both versions) that you don’t even really get a ton of the hop flavor – but what’s there does a fantastic job of cutting through all that desserty sweetness and making it a much more complex, balanced, and interesting beer.
Interesting thought: this recipe was actually originally going to be centered around Fuggle hops. I’ve been hearing and reading about Fuggle hops for what might just be almost two decades, but I’ve never actually brewed with them, and I don’t think I’ve even tried them until now.
Yeast
| Amount | Ingredient |
| ½ packet (5g)* | Mangrove Jack’s M15 Empire Ale Yeast |
I was originally going to use Safale S-04 – it’s a good English yeast with a lot of range, and I think it would’ve worked just fine. If that’s all you have access to, then just use that.
But in my research, I discovered Mangrove Jack’s M15 – an English yeast that perfectly complements that Special B character with its dried fruit and chocolate esters.
How to Brew this “English” Dark Ale
Here is the basic process for brewing this beer:
- 60 min Single Infusion Mash: 155°F / 68°C
- The Boil: 60 min boil.
- Chill the Wort & Pitch Yeast
- Fermentation: pressure ferment in a KegLand PET Oxebar Keg fermenter at 3 to 5 PSI until fermentation is complete and final gravity has been reached.
You can use very basic equipment with an inexpensive BIAB setup to brew this beer.
To achieve the precise temperatures required for your mash, you may want to use a temperature controller. I like to use my Anova Sous Vide as a cheap alternative to one of those expensive, fancy all-in-one brewing systems.
The Mash
This recipe calls for a single infusion mash at 155°F (68°C) for 60 minutes.
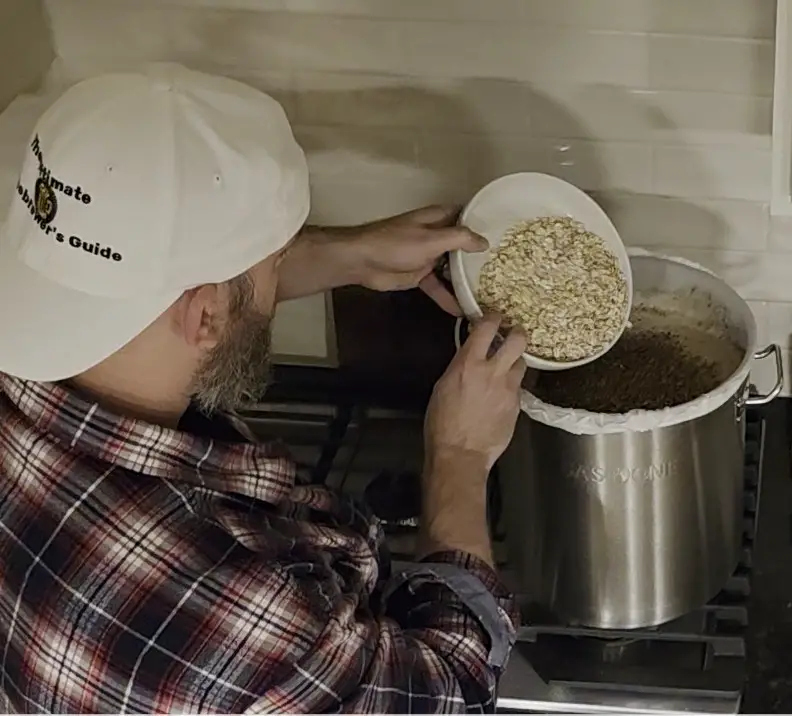
Add all of your grain to the mash at once. Mash the entire grist for the full 60 minutes.
As stated in the video, I didn’t exactly have full control over my schedule, so I opted for an overnight mash – which is something I kinda do for every beer these days.
The recipe as I wrote it up calls for a 60 minute mash, however, so you can just do that. The overnight mash may have resulted in slightly more brewing efficiency and a slightly lower final gravity, but as Brulosophy determined, there are massively diminishing returns beyond 60 minutes and it’s almost unnoticeable in the final beer.
The Boil
This recipe calls for a 60 minute boil, with a bittering hop addition of 23 IBUs worth of Northern Brewer at the 60-minute mark, a flavoring hop addition of 10 IBUs of Fuggle at the 20 minute mark, and an aroma hop addition of 3 IBUs of Fuggle at the 5 minute mark.
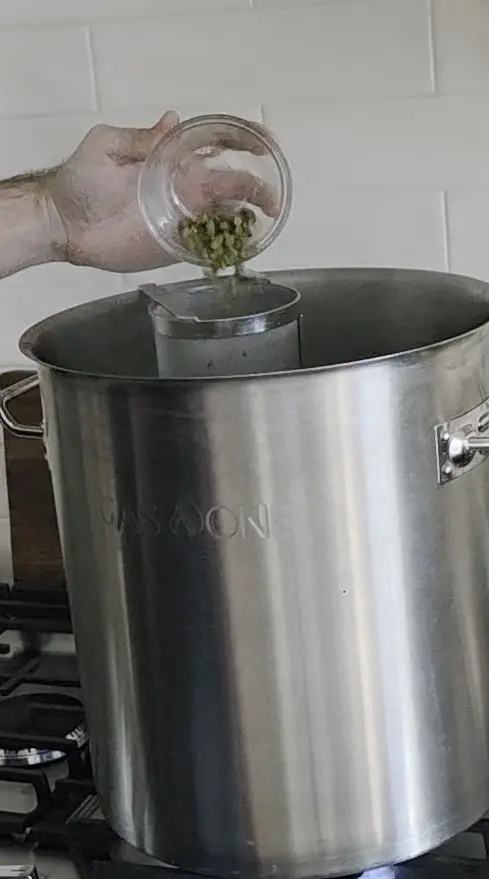
When the mash is complete, pull the grain bag, sparge as necessary (based on your system – I like to simply squeeze all of the wort out of the grain bag), and then crank the heat to get the wort to a rolling boil.
Once the wort is boiling hot, add your first addition of Northern Brewer directly into the wort. I like to use a hop spider.
When 40 minutes have passed (and there is only 20 minutes left in the boil) you can add your flavor hop addition of Fuggle.
Finally, with 5 minutes left in the boil, add your aroma addition, also of Fuggle.
Chill the Wort
After boiling, chill the wort to yeast pitching temperature, ideally around 70°F to 80°F (21°C to 26°C)
You have to bring the temperature down from boiling to a safe temperature to pitch the yeast – high temps will kill your yeast, and fermentation won’t ever happen!
This is a rich, malty beer, and the hop character isn’t as big of a part of the flavor profile, so chilling it slowly isn’t as big of a deal as it is with other styles – though obviously it would change the flavor a bit.
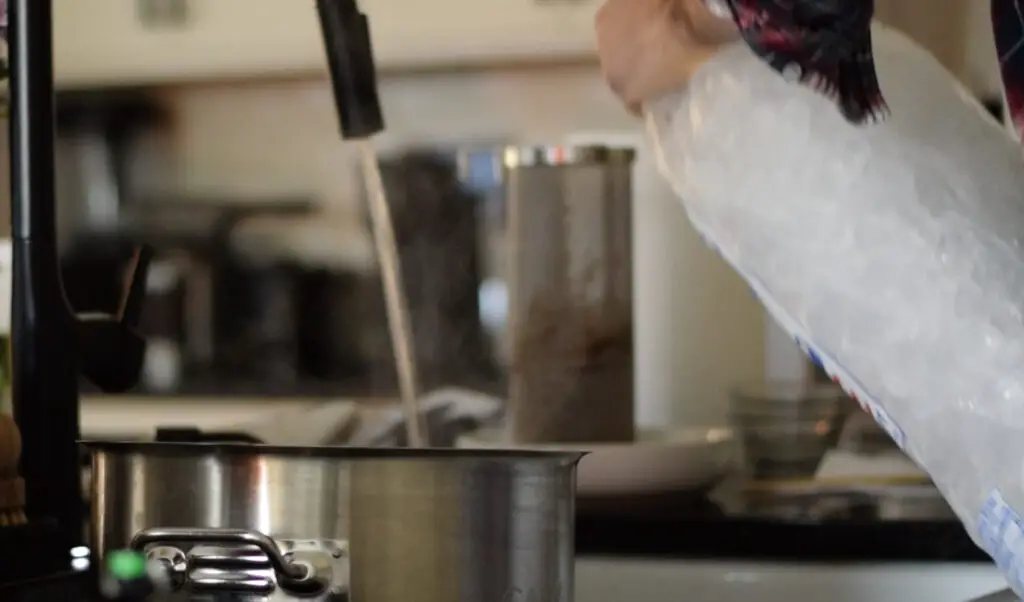
But I was able to very quickly get the wort chilled under the 180°F / 82°C hop isomerization temperature in just a few minutes with a simple ice bath, locking in the hop flavor.
The yeast probably won’t die at around 90°F / 32°C, but it prefers temps in the 70°F to 80°F range (21°C to 26°C)
Pitch the Yeast
Pitch the packet of Mangrove Jack’s M15 Empire Ale dry yeast into the wort.
First, pour your wort from the brew kettle into your fermenting vessel and aerate it. You can knock out both of these things in one step by dumping the wort vigorously, sloshing it as much as possible as it goes into the fermenter.
Then, you can pitch your dry yeast into the wort. It is often advised that you rehydrate your dry yeast first; however, I rarely do. I pitch the dry yeast straight from the packet into the wort, and I have yet to see any issues with doing so.
For a 3 gallon batch, ½ of a packet of yeast is enough. Packets of dry yeast are supposed to have enough cells to happily get going on a 5 gallon batch, so scale your yeast pitching rate for your batch size based on that.
Fermentation
Keep your fermenter in a dark room, at room temperature, ideally pressurized at 3 to 5 PSI, until the yeast is finished fermenting.
For my batch, I used a KegLand PET Oxebar keg fermenter and a spunding valve to pressure ferment this beer at 3 to 5 PSI (it fluctuated during fermentation for both batches).
You could probably really get away with not pressure fermenting when making a malty beer like this, but ever since I started doing it, I can’t not do it anymore. Between the pressure ferment and the ability to do a closed transfer, the beer stays protected from oxidation and temperature fluctuations – it’s the easiest, cheapest way to improve the quality of your beer.
And while I obviously wanted to pressure ferment and, more importantly, do a closed transfer to the serving keg, I did not want to suppress the dried fruit and chocolate esters produced by the yeast – so I kept the pressure very low on this one, and I think the beer was better for it.
Both batches kicked off quickly, and were probably finished within just a few days, but there’s no harm in patience with this hobby.
I gave it a couple of weeks before transferring to the serving keg.This recipe produces a pretty sweet beer, whether you use oats or not – mine fermented out to 1.026 with oats and 1.020 without – which is a very high F.G.!
Packaging
When fermentation is complete, bottle or (ideally) keg your batch. Give it time to carbonate, then enjoy!
Bottle-carbing is just fine if that’s all that you have available, but I prefer to keg my beers.
A closed transfer from a pressurized fermenter into your serving keg helps to protect your beer from oxidation, vastly improving the quality and the shelf life of the beer.
I don’t quick-carb – I just leave the keg hooked up to the CO2 tank for a couple of weeks and it’s good to go.
Conclusion
Note that I don’t have a section for improvements on this one. I think I nailed it, first try.
This beer wasn’t what I originally planned to make, but it was absolutely fantastic.
I am so proud of this recipe. I definitely have to brew it again – and like I said, I think it’ll have to be a part of the standard rotation in the winter going forward.
And I think you should, too. It’s that good.
I am sad I didn’t get to try a real English beer, but that’s the great thing about homebrewing: I’ll just do that with the next one.